
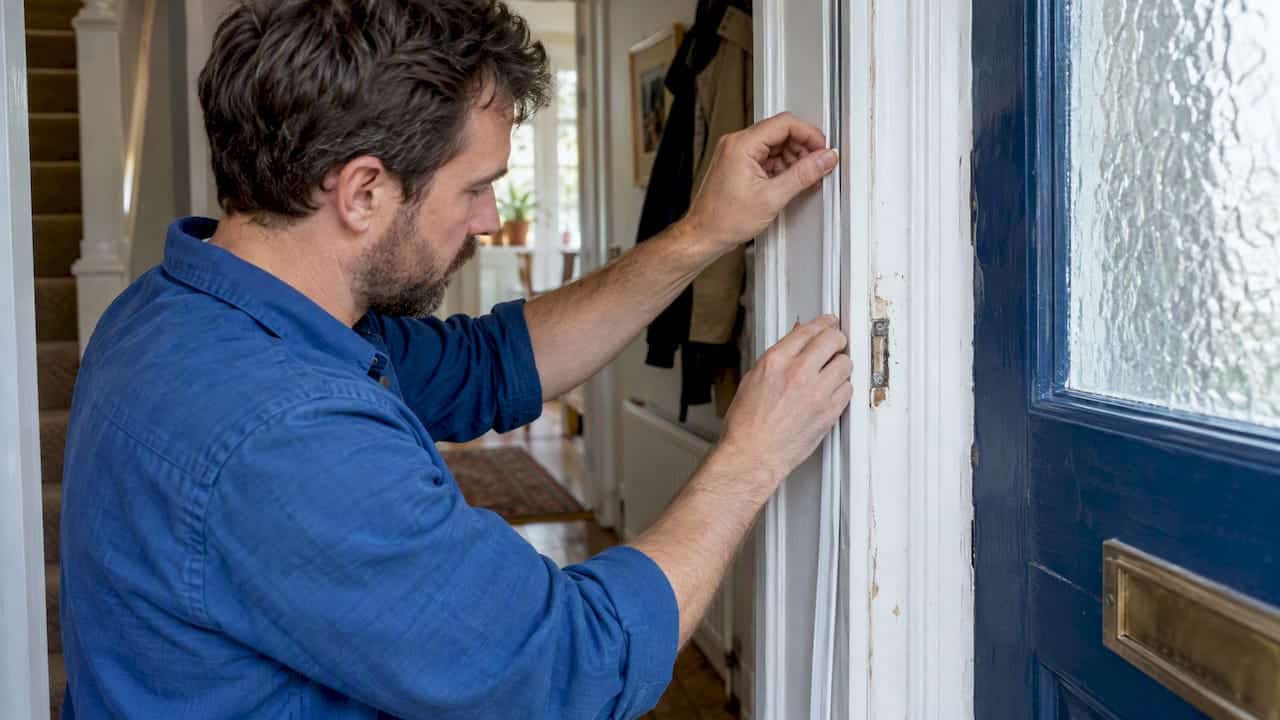
To install weather stripping on a door, clean the frame, measure each side, cut the strip to length and fit it to the inside of the frame so it compresses gently against the closed door. Then deal with the gap at the bottom using a brush, a rubber blade or a threshold seal. Most UK doors take an afternoon and a few basic tools. This guide covers the choice of strip, the fitting sequence, the bottom of the door, and the mistakes that cause draughts to return.
TL;DR
- Find the gaps first: daylight around a closed door, rattling in wind or moving curtains all show where air gets through.
- Fit frame seals to the door frame (or stop), not the door leaf, on clean, dry surfaces, using the thickest strip that still lets the door close.
- Treat the bottom gap separately with a brush strip, a blade seal or a threshold bar, and never block drainage slots.
- Do not seal rooms that need ventilation, such as those with open-flued appliances, kitchens or bathrooms.
- Test with a bank card or a candle-free draught check, and fix compression problems before you finish.
Table of Contents
- Find the draught before buying anything
- Choosing the right type of weather stripping
- What you need
- How to install weather stripping around the door frame
- Fitting a groove-fit (push-in) seal
- Sealing the bottom of the door
- Letterbox and keyhole
- Do not seal away needed ventilation
- Test the result
- Common mistakes
- Our perspective
- When to call a professional
- Know what your home needs next
- FAQ
- Sources
Find the draught before buying anything
Weather stripping works only where air is actually getting through. Energy Saving Trust advice on draught proofing suggests looking for visible light under and around doors, listening for rattles and whistling on windy days, and watching for curtains that move. Doors are one of the main places to check, along with windows, floorboards, skirting boards and pipe penetrations.
Stand inside with the door closed. In daylight, any line of light around the edge marks a gap. At night, ask someone to shine a torch from outside while you look from within.
Then note where the leaks are:
- Along the hinge side, top and latch side: a frame seal job.
- Under the door: a bottom seal or threshold job.
- Letterbox and keyhole: separate fittings. The Energy Saving Trust lists the keyhole and letterbox among the four main areas to consider on a door.
If the gap is wider than a few millimetres along the whole edge, the door may have dropped on its hinges or warped. Tighten or shim the hinges first. A seal cannot make up for a door that does not sit square in its frame. The Bath and North East Somerset Council guidance on timber doors says the same: repair the door so it fits its frame well, then upgrade the junction with brush seals or similar.
Choosing the right type of weather stripping
There is no single best product. The right one depends on the gap, the door material and whether the door is used constantly.
| Type | Best for | Watch out for |
|---|---|---|
| Self-adhesive foam strip | Small, even gaps around the frame; cheap and quick | Wears and flattens sooner on busy front doors |
| Rubber or silicone P, D or E profile | Longer-lasting seal on frames with consistent gaps | Needs the right thickness or the door will not latch |
| Pile or brush strip | Uneven gaps, the bottom of doors, sliding or rubbing edges | Less airtight than a compressed rubber seal on tight gaps |
| Groove-fit (kerf) strip | Frames with a routed slot, common on newer uPVC and timber frames | Slot must be clean; strip pushes in with no adhesive |
| Door bottom blade or sweep | Gap under an internal or external door | Must clear the floor or threshold without dragging |
| Threshold or weather bar | Exterior timber doors facing rain | Needs cutting and fixing; drainage must stay clear |
The government draught proofing factsheet describes the materials as ranging from brushes, foams and sealants to strips and shaped rubber or plastic, and calls it a fairly easy task for a competent DIY-er. Most products come with instructions and are sold at local DIY stores.
For our own deeper dives on specific fitting problems, see the guides on putting weather stripping on a door and on applying weather stripping to a door.
Check the door type first
A modern uPVC or composite door often has a groove running round the frame, with seals already pushed in. In that case, replacing a worn seal is usually a matter of pulling out the old one and pressing in the new profile of the same type. A traditional timber door normally has a flat stop moulding, so self-adhesive strips or a pinned-on rubber seal are the usual options.
Older and listed buildings call for a little more thought. Cotswold District Council notes that routine maintenance can often improve the energy efficiency of a historic door. If the property is listed or in a conservation area, check with the local authority before altering the door or frame.
What you need
A basic kit covers most jobs:
- Tape measure and pencil
- Sharp scissors or a craft knife (for foam and rubber), a hacksaw or tin snips for metal-backed strips
- Mild soapy water and a lint-free cloth, plus a little white spirit or adhesive remover if there are old residues
- Small pins or screws if the strip is not self-adhesive
- Mastic or sealant for threshold bars
- A screwdriver and, for bottom seals, a saw and a plane or sanding block
How to install weather stripping around the door frame
This sequence suits self-adhesive foam, rubber and many pile strips.
- Check the hinges. Tighten loose screws so the door hangs correctly. Do this before you measure, because a sagging door changes the gap.
- Remove old seals. Peel off the old strip and clean off leftover adhesive with oil or a specific adhesive remover, as Gathered’s door draught proofing guide suggests for re-installations.
- Clean and dry the frame. Wash the surface with mild soap and water to remove grease, then dry it thoroughly. Adhesive will not bond to a damp or dusty surface, and even small remnants of old sealant can cause an early failure.
- Measure each side. Measure the hinge side, top and latch side separately. Do not assume they match.
- Cut the strip. Cut each length slightly long if you are using foam, so it sits tight at the corners. Use one continuous piece per side where possible, since joints let air through.
- Fit to the frame. Peel back a short section of the backing, line up the strip against the stop moulding and press it down as you peel the rest. Keep it straight. Do not stretch it, as it will shrink back and leave a gap at the ends.
- Work round the door. Start at the top corner, run down the hinge side, then repeat for the latch side. Keep the strip on the inside of the frame so the door compresses it when closed.
- Close the door and test. The seal should be firmly compressed with no visible gap, but the door should still latch without being slammed.
Frame or door: where does the strip go?
For a standard rebated frame, the seal normally goes on the frame stop, so the closed door presses against it. The Gathered guide says the strip should be fitted on the inside of the door frame and tightly compressed when the door is closed. A seal stuck on the door edge itself often scuffs, peels and catches when the door swings.
Pick the right thickness
Thicker is not always better. The same guide advises choosing the thickest option that does not stop the door closing fully. Too thick and the latch will not engage or the door will bow. Too thin and air passes through.
If you are unsure, buy a small sample pack, test two thicknesses on the latch side and check the door closes with normal pressure. Our guide on testing a 50mm sample before fitting goes through this approach.
Fitting a groove-fit (push-in) seal
If your frame has a routed slot, the job is simpler.
- Pull out the old seal, working from a corner.
- Clear dust and debris from the groove with a small brush.
- Start at a top corner and press the flat edge of the new seal into the groove, working down each side.
- Trim it to the height of the door with scissors.
No adhesive is needed. Do not stretch the seal as you push it in. Leave a little extra at each corner and trim after, or the seal will pull back and leave a gap.
Sealing the bottom of the door
The bottom gap is the one most people notice, and the one that needs the most thought, because it has to handle floors, thresholds and sometimes rain.
Internal and sheltered doors
A self-adhesive brush strip or rubber blade fixed to the inside of the door bottom is usually enough. Measure the gap at its widest point, choose a seal that reaches the floor or threshold without dragging, and fix it with the door closed so you can judge the contact. Screw-on versions hold better than adhesive ones on a door that gets heavy use.
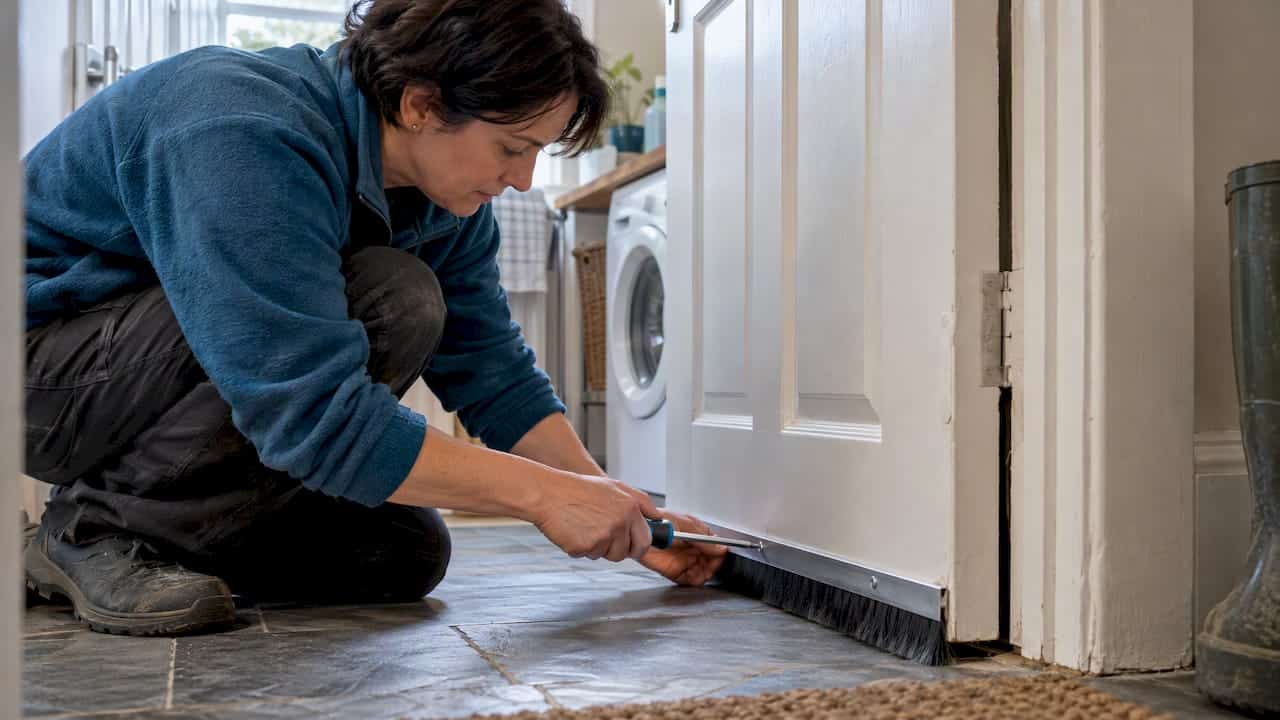
For a step-by-step on this specific job, see our guide to changing the weather stripping on the bottom of a door, which starts with three measurements.
External doors that face weather
Exposed timber doors usually need a threshold or weather bar as well as a bottom seal. Manufacturer fitting instructions show how specific this is. One Stormguard weather bar instruction sheet tells installers to measure the greatest distance between the door jambs, cut the bar to that length, and remove enough material from the bottom of the door to leave a 31mm gap above the base threshold. The bar is set on bedding mastic between the jambs, with its lower edge on the inside and flush with the inside face of the door, before being screwed down.
Another Stormguard fitting sheet for a door-bottom seal has the installer mark the line along the inside face of the closed door, then take the door off its hinges and saw parallel to the mark, 10mm above it, to leave clearance. These are the instructions for those particular products. Your product may specify different clearances, so follow the sheet in the packet.
Three practical points follow from this:
- Take the door off its hinges for planing or sawing. It is easier and gives a straighter cut.
- Seal cut edges. Bare timber exposed to the weather should be primed and painted or sealed.
- Keep drainage open. Weather bars and threshold seals often have slots or channels for water. Blocking them can cause water to pool and lead to rot or damp, so notch the profile to fit around door stops rather than filling the gaps.
Letterbox and keyhole
A door can have perfect edge seals and still whistle through the letterbox. A brush or flap fitted behind the letterbox plate stops most of that. For the keyhole, the Energy Saving Trust recommends a purpose-made cover that drops a metal flap over the opening. Both take minutes to fit and cost little.
Do not seal away needed ventilation
Homes need fresh air to remove moisture and combustion gases. The Energy Saving Trust cautions that gaps can be blocked, but not where good ventilation is really important, such as in rooms with certain appliances, kitchens and bathrooms. If a room contains a gas fire, a wood burner or an open-flued boiler, check that adequate permanent ventilation remains after you draught proof. If in doubt, a Gas Safe registered engineer can advise on a gas appliance. Internal doors to rooms with extractors are best left with a small gap, because that is how replacement air moves through.
The Oxfordshire County Council draught proofing page makes a helpful distinction here: homes have some natural ventilation through the fabric, while draughts are unwanted air movements such as through a letter flap in the wind.
Test the result
Once everything is fitted:
- Bank card test. Close the door on a card at several points around the frame. It should grip, not slide out freely. Our guide on checking the fit with a bank card explains how.
- Light test. Repeat the night-time torch check. No light should show.
- Latch test. Close the door normally. If it needs force, the strip is too thick or badly placed.
- Wind test. On a breezy day, hold a hand near the edges and check for moving air.
Common mistakes
- Fitting on dirty or damp paint. The most common cause of strips peeling within weeks.
- Stretching the strip. It contracts and opens corners.
- Buying one thickness for the whole door. Hinge-side and latch-side gaps are often different.
- Painting over foam seals. Paint hardens foam and stops it compressing.
- Blocking drains on threshold seals. See above.
- Sealing a room that needs air. Check ventilation before you finish.
Our perspective
We see door draught proofing as one of the lowest-effort energy measures in a UK home, and also one of the most overlooked. Assessors who work with Energy Performance Certificates often find that air leakage around openings is easy to spot and easy to fix, yet many owners never think about it until the heating bill arrives.
Two things matter most. First, fix the cause before the symptom: if the door has dropped or warped, a seal will fail early. Second, treat ventilation as part of the plan, not an afterthought. A tighter home is a better home only if it still has controlled air for moisture and appliances.
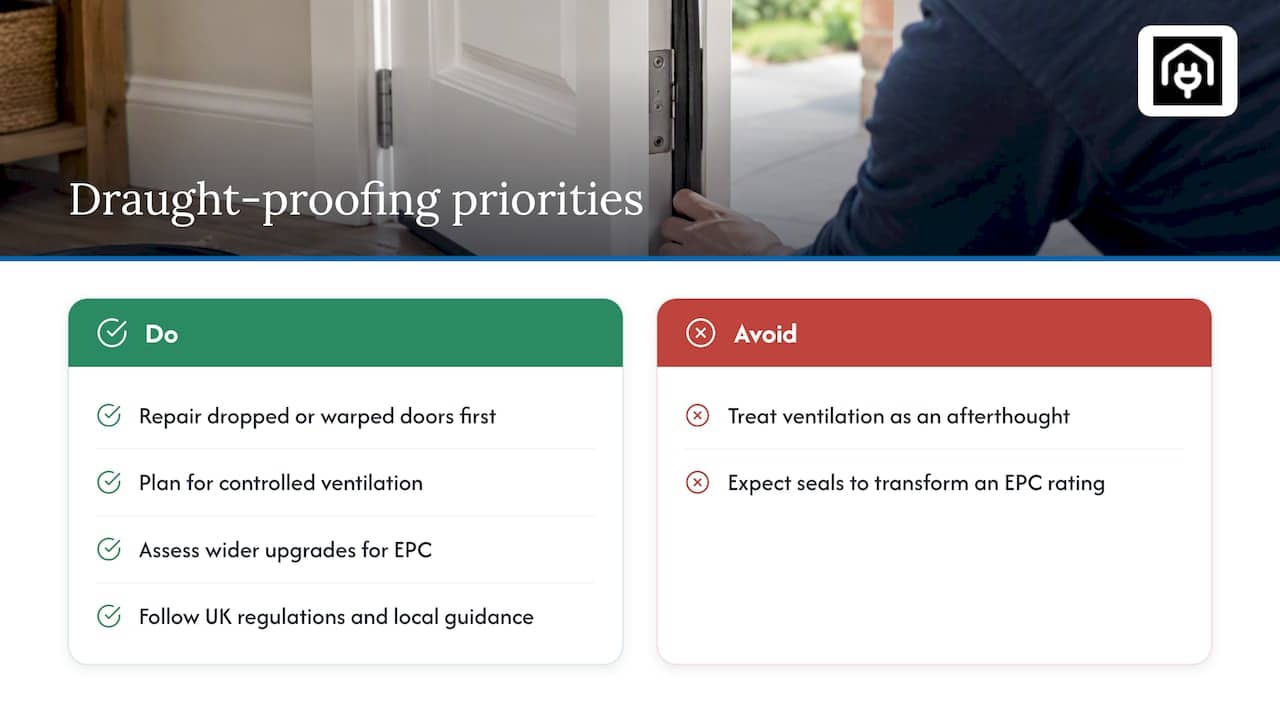
For landlords and property investors, small measures like these show tenants that the property is looked after, and they sit alongside larger decisions about insulation and heating that shape an EPC rating. Weather stripping alone will not transform a rating, but it is a sensible first step before a wider assessment shows what else would pay back. For a broader look at how fabric measures fit with other upgrades, our guide to draught proofing windows covers the other major leakage point, and our overview of how to install door seals covers the wider range of seal types.
Builders outside the UK publish similar thinking about airtightness, for example this Canadian builder’s guide to energy efficiency in construction. Standards and climate differ, so apply UK Building Regulations and local guidance when working on a UK property.
— Danny
When to call a professional
DIY suits most seals. Consider a professional if:
- The door is badly warped, rotten or does not fit its frame.
- You are replacing the whole door set. Installation guides for composite doors stress that the position of the frame in the opening is fundamental to the result, which is a job for an experienced fitter.
- You want a package of measures rather than one fix. The Energy Saving Trust advises getting three quotes from reputable installers and notes that TrustMark lists certified installers.
Know what your home needs next
Once the door is sealed, the next question is how the whole property performs. If you are selling, letting or planning upgrades, an Energy Performance Certificate shows where the home stands and which improvements are recommended. We provide information and quote request forms for assessments, including a domestic EPC and a commercial EPC, so you can compare what an assessor would look at before you spend on measures.
FAQ
Does weather stripping go on the door or the frame?
In most cases it goes on the frame, on the stop that the closed door presses against. Fitting it to the inside of the frame keeps the seal compressed and out of the way of the swinging door. The exception is the bottom of the door, where a brush or blade seal is fixed to the door itself.
How do I stop a draught under a door?
Measure the gap at its widest point, then fit a brush strip, rubber blade or threshold bar that closes it without dragging on the floor. External timber doors usually need a threshold or weather bar and a bottom seal, fitted so drainage slots stay clear. A draught excluder across an internal door is a quick temporary fix.
Can I install weather stripping without tools?
Often yes. Groove-fit seals press into an existing slot, and self-adhesive strips need only scissors and a tape measure. Bottom seals, threshold bars and anything needing the door to be planed require a saw, screwdriver and sometimes removing the door from its hinges.
How do I make the adhesive stick properly?
Clean the frame with mild soapy water, remove old adhesive residue with oil or a dedicated remover, and dry the surface completely before applying the strip. Dust, grease and moisture are the usual reasons strips peel. Press the strip firmly along its whole length as you peel off the backing.
Sources
- Energy Saving Trust: Draught proofing
- Gathered: How to draught proof your doors
- Stormguard: weather bar fitting instructions (SG HI BAR)
- Stormguard: door-bottom seal fitting instructions
- Government draught proofing factsheet
- Bath and North East Somerset Council: timber door draughtproofing
- Cotswold District Council: doors
- Oxfordshire County Council: draught proofing
- External Doors Online: composite door installation guide