
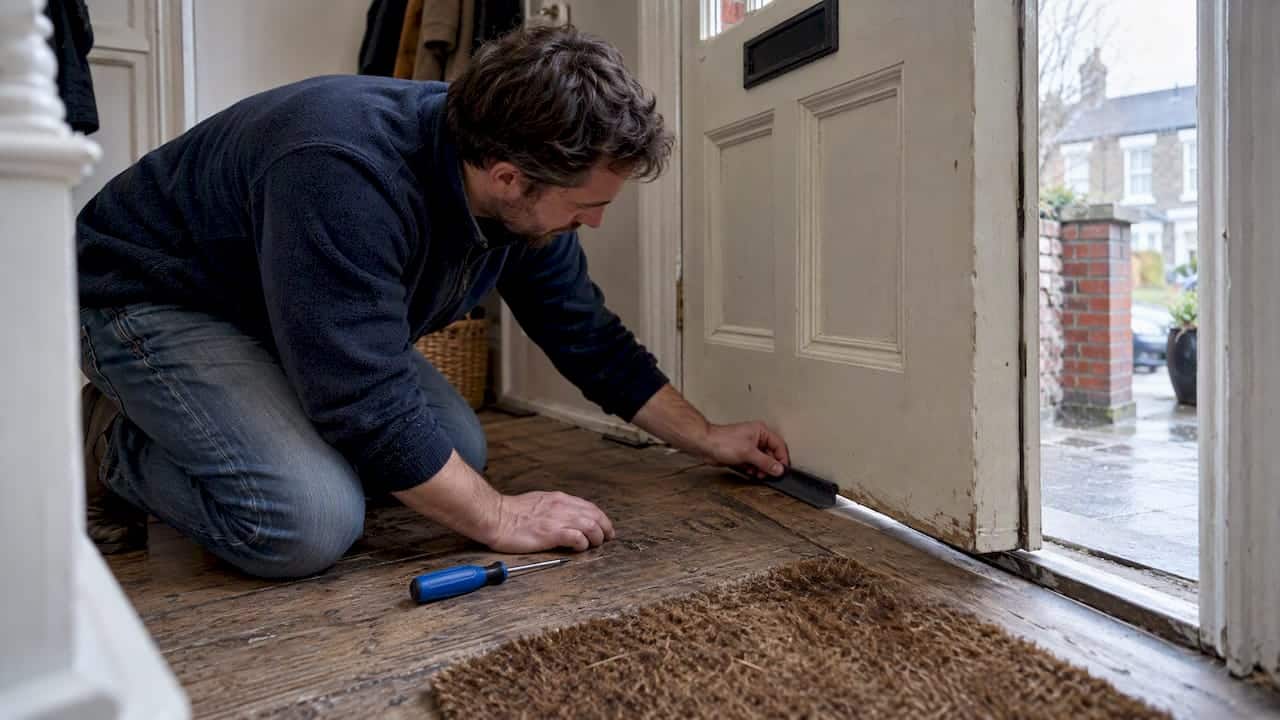
Fit weather stripping by measuring each gap, choosing the matching strip, preparing the frame, fitting the strip and testing the door. Most exterior doors have four leak points: the perimeter, the bottom gap, the letterbox and the keyhole, and each needs a different fix. Before sealing any door, check that trickle vents or combustion vents nearby stay clear, since blocking required airflow can affect indoor air quality.
TL;DR:
- Matching the right weatherstrip to each leak point is crucial, with foam or V-strip suitable for small perimeter gaps and brushes or flaps for uneven bottoms.
- Testing short sample strips with the credit-card method prevents fitting errors, saving time and avoiding the need for rework.
- Proper preparation of the door and frame, including cleaning, repairing defects, and measuring clearances, significantly improves sealing effectiveness.
- Seal only the door, not ventilation vents or air intakes, to maintain indoor air quality and comply with safety guidelines.
- Regular maintenance, like inspecting adhesive bonds and replacing worn strips, ensures the weatherproofing remains effective over several years.
Table of Contents
- Tools and materials for the job
- Matching the right weatherstrip to each gap
- Preparing the door and frame before fitting
- Step by step: fitting perimeter seals
- Step by step: fitting bottom seals
- Letterbox and keyhole: small fittings, careful fitting
- Energy savings and ventilation safety
- Common problems and a simple maintenance routine
- Costs and realistic savings
- A straightforward checklist for getting it right
- Need a professional energy check instead of DIY
- Where to check further guidance
- Sources
- FAQ
Tools and materials for the job
The right tools depend on the door material, but a core kit covers most jobs. Timber doors generally take screws and adhesive strips well, while uPVC and metal doors often need adhesive-only products or strips designed for smooth, non-porous surfaces. Checking manufacturer instructions before buying prevents a mismatch between strip type and door material.
- Tape measure, pencil, scissors or a sharp utility knife, and a cloth for cleaning surfaces.
- Screwdriver and drill with pilot bits, needed for door bars, hinged flaps and some brush strips.
- A mitre saw or mitre block, useful but optional, for neat corner joins on rigid strips.
- Adhesive foam or wiper seals for simple perimeter gaps on timber doors.
- Compression seals in EPDM or silicone for narrow, even gaps around the frame.
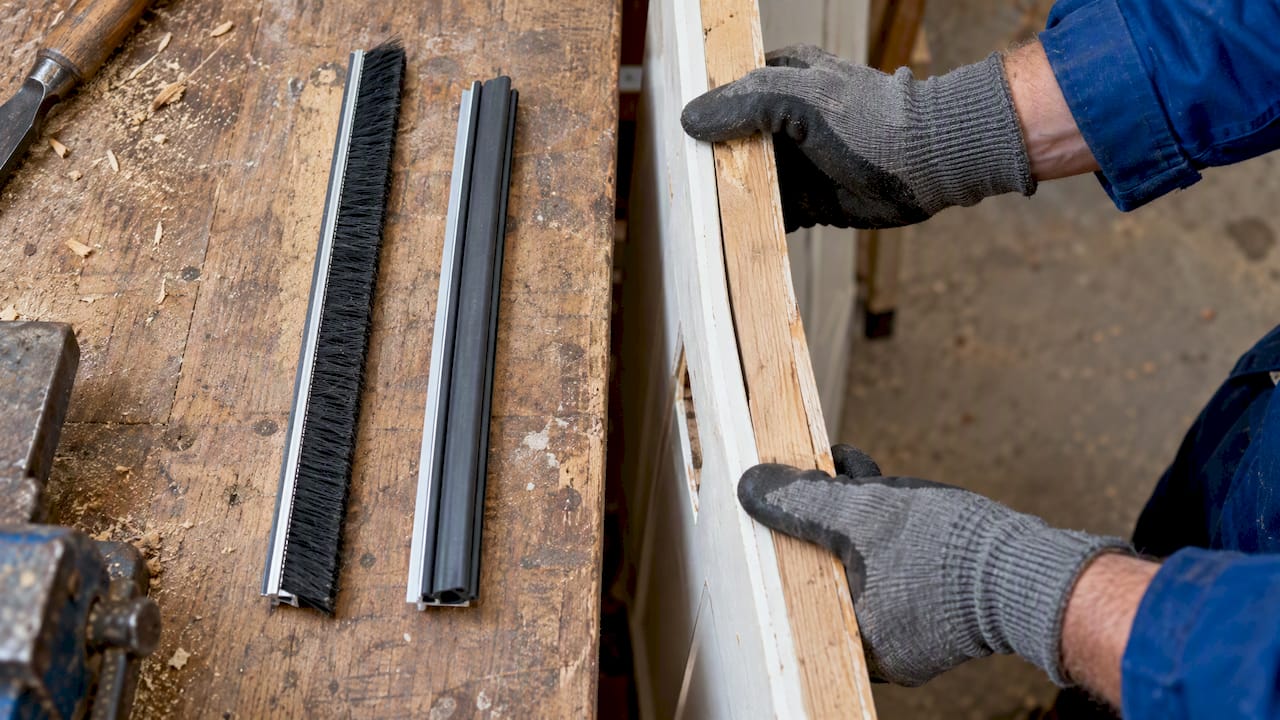
- Brush pile (wiper) strips for uneven bottoms or slightly warped doors.
- Door bars or hinged flaps for larger bottom gaps or thresholds that see heavy use.
Interior doors rarely need the same treatment as exterior doors facing the weather, so match the product to the door’s exposure as well as its material.
Matching the right weatherstrip to each gap
Each of the four leak zones identified by the Energy Saving Trust calls for a different product, and using the wrong one wastes time and money. The keyhole needs a simple cover or escutcheon, the letterbox needs a brush or flap, the bottom gap needs a brush, bar or hinged flap, and the perimeter needs foam, a V-strip or a compression seal.
- Perimeter gaps that are small and consistent suit adhesive foam or V-strip, which compress easily and seal well on flat timber or uPVC frames.
- Narrow, even gaps around a well-fitted frame suit compression seals in EPDM or silicone, which spring back repeatedly without wearing out quickly.
- Uneven bottoms or slightly warped doors suit brush pile strips, since the bristles flex to follow an irregular line that a rigid compression seal cannot match.
- Historic or listed doors often do better with brush or compression seals rather than generic foam, and conservation guidance recommends checking before altering a protected door’s fittings.
Before fitting a full length of any strip, test a short sample, around 50mm, using the credit-card method recommended by the Centre for Sustainable Energy: stick the sample to the frame, close the door, and slide a card through the gap. If the card doesn’t pass, the strip is too thick and the door may not close properly; if it slides through with no resistance at all, the strip is too thin to seal.
Pro Tip: Always test a short length before committing to a full run: a 50mm sample and a few open-close cycles catch most fitting mistakes before they become permanent.
For warped timber doors, brush seals tend to outlast compression strips, which only work within a narrow gap range and can fail when the joinery moves with the seasons.
Preparing the door and frame before fitting
A new seal only works as well as the surface it sits on, so preparation matters more than the fitting itself. Conservation guidance from Historic England makes the point directly: sealing is no substitute for maintenance, and a poorly fitting door should be repaired first. Local authority retrofit guidance agrees, noting that straightforward repairs to a badly fitting or rotten door can meaningfully cut air infiltration before a seal is even added, according to Bath and North East Somerset Council.
- Inspect hinges for play, check the door for rot, warping or swelling, and fix small defects such as loose screws or sticking edges.
- Remove old weather stripping and any leftover adhesive residue, using a scraper and a suitable cleaner for the surface material.
- Clean and dry the frame and door edges thoroughly, since dust, grease or moisture stop new adhesive from bonding properly.
- Measure and record the clearances at the head, both jambs and the threshold, noting where gaps are widest or most uneven.
- Note any areas where the door binds or drags when opened and closed, as these often need a small repair before sealing.
A door that already closes awkwardly won’t close better with a seal added; it will usually close worse. Our guide on installing door seals covers this preparation stage in more depth for readers tackling a full draught-proofing job.
Step by step: fitting perimeter seals
Perimeter seals, whether adhesive foam, V-strip or compression profile, follow broadly the same fitting sequence.
- Cut a short test piece, roughly 50mm, and stick it to the frame at the point where the gap looks typical.
- Close the door against the test piece and run the credit-card check: a card should pass with light resistance, not freely and not at all.
- Measure the full length needed for the head and both jambs, adding a small allowance for trimming.
- Cut the strip to length using scissors or a utility knife, and mitre the corners where two lengths meet for a tidy, continuous seal.
- Clean the frame surface again immediately before sticking, since even a few minutes of exposure can pick up dust.
- Peel back a short section of the backing, position the strip precisely, then press it down firmly while peeling the rest of the backing away gradually.
- Close the door slowly and check for binding, where the door feels stiff or won’t latch cleanly.
- Adjust by peeling back and repositioning any section that feels too thick, rather than forcing the door shut repeatedly, which can loosen the adhesive.
Compression seals sometimes need a small pilot screw at each end to stop them lifting over time, particularly on uPVC frames that see a lot of temperature movement. Our draught-proofing windows guide covers the same sealing principles for window frames, which often share the same leak patterns as doors.
Step by step: fitting bottom seals
The bottom gap usually loses more heat than any single point around the perimeter, and the right product depends on how the door is used day to day. A surface-mounted brush strip suits most households, a morticed door bar gives a neater finish but needs more cutting into the door, and a hinged flap works well where the threshold itself is uneven.
- Measure the width of the door and cut the strip or bar to match, allowing a small gap at each end for clearance.
- Mark screw positions evenly along the strip, then drill pilot holes to stop the timber splitting.
- Fit the screws loosely at first, position the brush or bar so it just touches the floor, then operate the door several times.
- Watch for dragging or a scraping sound, which means the strip sits too low and needs raising slightly before the final tightening.
- Tighten all screws fully once the door opens and closes smoothly with the seal in light contact with the floor.
Pro Tip: Fit screws loosely first and test the door through a full open-close cycle before tightening fully: a brush set too low drags on carpet and wears out far faster than one set correctly.
Readers replacing an existing bottom seal rather than fitting one for the first time may find our guide on changing door bottom weatherstripping useful, since removal and refitting raise slightly different questions. For a morticed door bar specifically, a step-by-step fitting guide from Quality Carpet Trims covers the cutting and recessing in more detail.
Letterbox and keyhole: small fittings, careful fitting
These two gaps are small individually but add up, and both need fittings that don’t interfere with normal use. According to the Energy Saving Trust, letterboxes and keyholes are two of the four main areas worth addressing when draught-proofing a door.
- Measure the letterbox opening carefully, then choose a brush letterbox seal for frequent post or a hinged flap for a tighter, more draught-resistant fit.
- Fit the brush or flap with the screws provided. Then push a few items of post through to confirm nothing catches or jams.
- Fit a keyhole cover or escutcheon with a drop flap, checking that the key still turns smoothly and the cover doesn’t obstruct the mechanism.
- If a lock feels stiff or the cover won’t sit flush, a locksmith can confirm whether the keyhole itself needs attention rather than just a seal.
Rattling letterbox flaps are a common complaint after fitting, usually solved by a slightly tighter screw or a foam gasket behind the flap plate.
Energy savings and ventilation safety
Draught-proofing work pays off over time, but it only works safely alongside adequate ventilation. The Energy Saving Trust’s ventilation advice is direct on this point: trickle vents, wall vents, grilles and chimneys should never be sealed, since blocking them in an already fairly airtight home can lead to poor indoor air quality.
- Check which vents in the room are required for ventilation or for a combustion appliance such as a gas fire, and leave them clear.
- Seal only the door itself, not any adjacent vent, grille or airbrick, even if sealing them would look neater.
- If the home already has mechanical ventilation or feels unusually airtight, get a professional check before sealing further gaps.
- For listed buildings, suspected damp, or doors near combustion appliances, a professional energy assessment is a safer starting point than more DIY sealing.
Weighing energy savings against ventilation needs is exactly the kind of balance a professional energy assessment is built to resolve.
Common problems and a simple maintenance routine
Weather stripping fails in a handful of predictable ways, and most are easy to spot once you know what to look for.
- Adhesive failure, where a foam or compression strip lifts at the edges, usually means the surface wasn’t clean or dry enough when it was fitted.
- Worn or flattened brush pile no longer touches the floor evenly, which shows up as a draught returning along the bottom of the door.
- A distorted or warped door that has shifted since fitting can leave gaps at one corner even when the seal itself is intact.
- Reattach small lifted sections with fresh adhesive; replace a strip outright once the brush pile is visibly flattened or the foam has lost its spring.
- A seasonal check, once in autumn before the weather turns, catches most problems before they cause a noticeable draught.
- Keep hinges tightened and touch up any paint or varnish disturbed during fitting, since exposed timber around a new seal can trap moisture.
Costs and realistic savings
Basic draught-proofing strips cost around £2 per metre, according to guidance collated by Retrofit Planner, with simple door bars starting a little higher and letterbox flaps typically costing more again. Lifetimes vary with use and material, but a well-fitted compression or brush seal on a frequently used door often lasts several years before it needs replacing.
Reported savings: Energy Saving Trust and retrofit guidance report modest average annual savings from draught-proofing a typical UK home, though the actual figure depends heavily on the home’s size, existing airtightness and fuel prices.
- Professional draught-proofing or repair work is worth considering when a door won’t sit square no matter how it’s adjusted.
- A full home energy assessment makes more sense than piecemeal DIY fixes when several doors and windows all show the same problem.
- Where damp, rot or warping keeps recurring, repair costs should be weighed against the eventual cost of a full door replacement.
A straightforward checklist for getting it right
Draught-proofing a door rewards patience over speed. The order that works best is simple: inspect the door and frame, repair anything that doesn’t sit right, test a short sample strip, fit the full length, then check ventilation before calling the job finished.
Most DIY failures come from skipping the test step, not from choosing the wrong product. A five-minute credit-card check on a short sample saves an afternoon of refitting later. For anything beyond a single door, or where damp, warping or a combustion appliance complicates the picture, a professional energy assessment gives a clearer answer than guesswork.
— Danny
Need a professional energy check instead of DIY
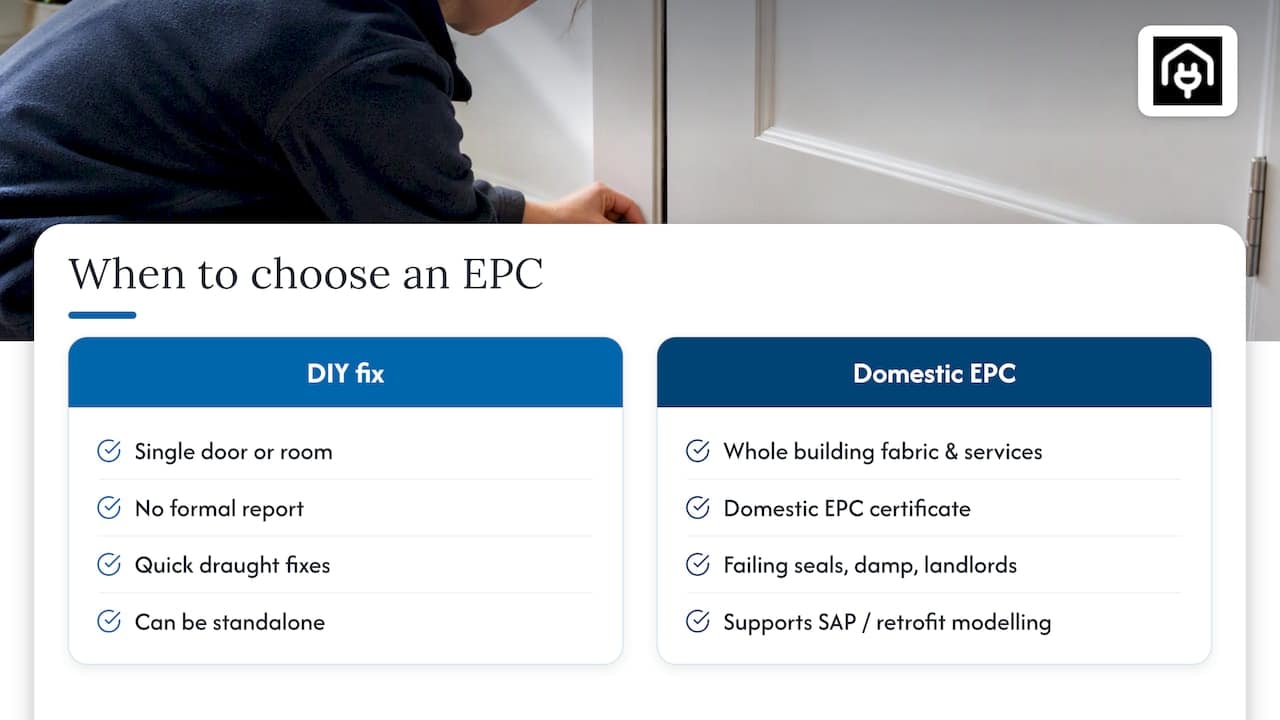
Draught-proofing a door is a useful fix, but it only addresses one part of a home’s energy performance. Where a door keeps failing to seal properly, where damp or ventilation issues are suspected, or where a landlord needs documented evidence of a property’s energy efficiency, a Domestic Energy Performance Certificate can give a fuller picture than a DIY fix alone.
A Domestic EPC assessment looks at the whole building’s fabric and services, not just one door, and sits alongside other services such as Standard Assessment Procedure Calculations for new-build and retrofit projects where detailed energy modelling is required. For landlords or property owners weighing up whether a string of small repairs adds up to a bigger retrofit job, a professional assessment gives a documented baseline to work from rather than relying on room-by-room draught checks.
Readers who want that fuller picture can request a quote directly through the Domestic EPC page.
Where to check further guidance
For anyone wanting the source guidance behind this article, these cover the same ground in more depth.
- Energy Saving Trust’s draught-proofing advice on the four main leak zones and recommended products.
- The Centre for Sustainable Energy’s DIY instructions for step-by-step brush strip and foam fitting.
- Historic England’s guidance for timber and historic doors, including product choice.
- Manufacturer fitting instructions for the specific product purchased, since profiles and adhesives vary between brands.
Sources
- Draught proofing – Energy Saving Trust
- DIY draught‑proofing – Centre for Sustainable Energy
- Draught‑proofing guide – Retrofit Planner
FAQ
What is the proper way to weatherstrip a door?
Measure the four main leak zones (perimeter, bottom gap, letterbox and keyhole), choose a matching product for each, then prepare the surface before fitting. Test a short sample strip with the credit-card method before fitting the full length, and check the door opens and closes freely once the seal is in place.
How do you attach a weather strip to a door?
Most perimeter strips stick directly to a clean, dry frame surface using built-in adhesive, while bottom seals such as brush strips or door bars are usually screwed on after drilling pilot holes. Fit screws loosely at first, test the door’s movement, then tighten fully once the fit looks right.
Do you put weather stripping on the door or the frame?
Perimeter seals, such as foam or compression strips, generally go on the frame so the door closes against them. Bottom seals, such as brush strips and door bars, are usually fitted to the bottom edge of the door itself rather than the threshold.
How do I properly apply weatherstrip adhesive?
Clean and dry the surface thoroughly first, since dust or grease stops adhesive-backed strips from bonding properly, as the Centre for Sustainable Energy notes in its fitting guidance. Peel back a short section of backing at a time, press the strip down firmly as you go, and avoid stretching it, which can weaken the bond over time.