TL;DR:
- Installing door seals improves energy efficiency by reducing drafts, saving homeowners up to 10 percent on heating and cooling costs. Proper preparation, correct material choice, and proper fitting techniques ensure long-lasting results and minimal issues. Properly aligned doors with well-installed seals maximize savings and prevent early seal failure.
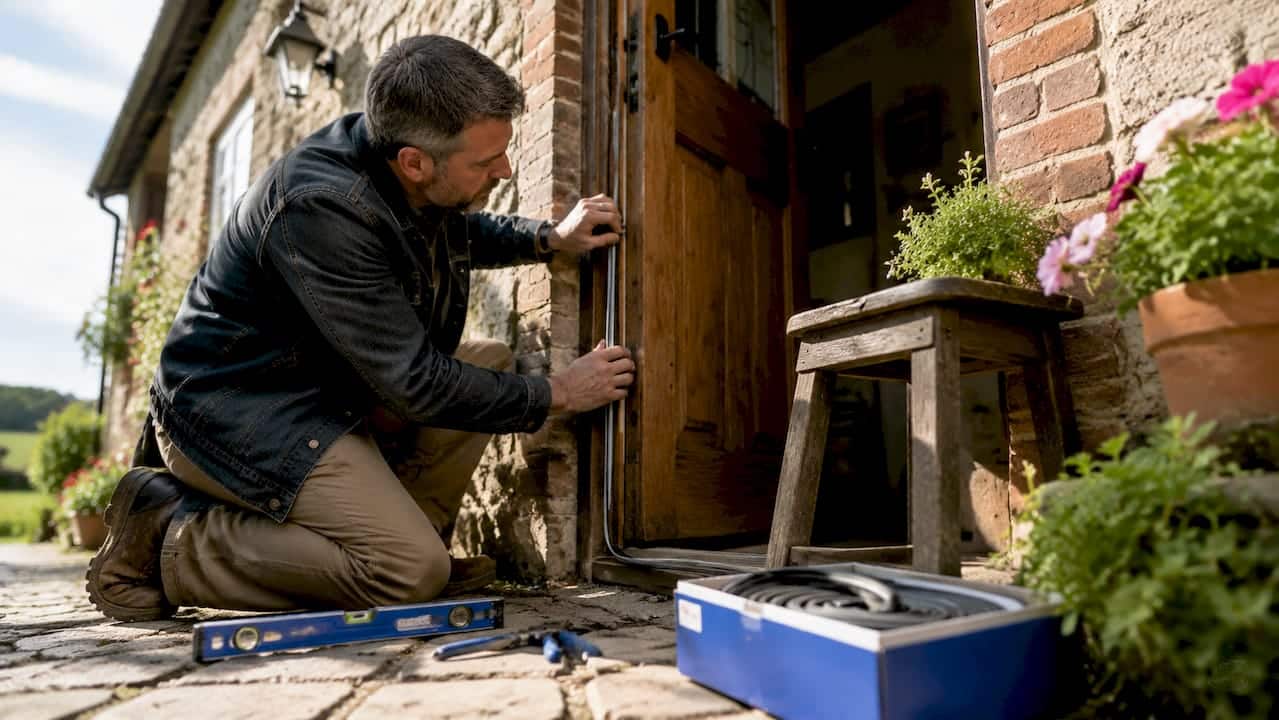
Installing door seals is the process of fitting specialised weatherstripping materials around a door frame to block drafts, reduce heat loss, and cut energy bills. The industry term is weatherstripping, and it covers everything from V-strip and foam tape to door sweeps and kerf-in seals. Properly installed weatherstripping reduces heating and cooling costs by 5% to 10%. That saving is meaningful for UK homeowners facing rising energy costs. A full-door project typically costs around £25–£30 in materials and takes one to three hours per door, making it one of the most cost-effective DIY upgrades available.
How to install door seals: tools and materials you need
The right materials determine whether a seal lasts two months or ten years. Door seals fall into four main categories, each suited to a different part of the door or type of gap.
- V-strip (tension seal): A folded strip of plastic or metal that fits into the door frame channel along the sides and top. It compresses when the door closes and springs back when it opens. Durable and largely invisible once fitted.
- Foam tape: Self-adhesive closed-cell foam applied to the door stop. Simple to fit but less durable than V-strip. Best for irregular gaps or low-traffic doors.
- Door sweep: A strip fixed to the bottom of the door that brushes or presses against the threshold. Available in brush, rubber, and automatic drop-down versions.
- Kerf-in seal: A rubber or foam seal pressed into a pre-cut groove (kerf) in the door stop. Common on factory-fitted doors and more permanent than adhesive options.
Recommended tools
You will need a tape measure, scissors or a utility knife, a screwdriver, a drill with pilot-hole bits, and rubbing alcohol or isopropyl alcohol for surface preparation. A pencil and a straight edge help with accurate marking before cutting.
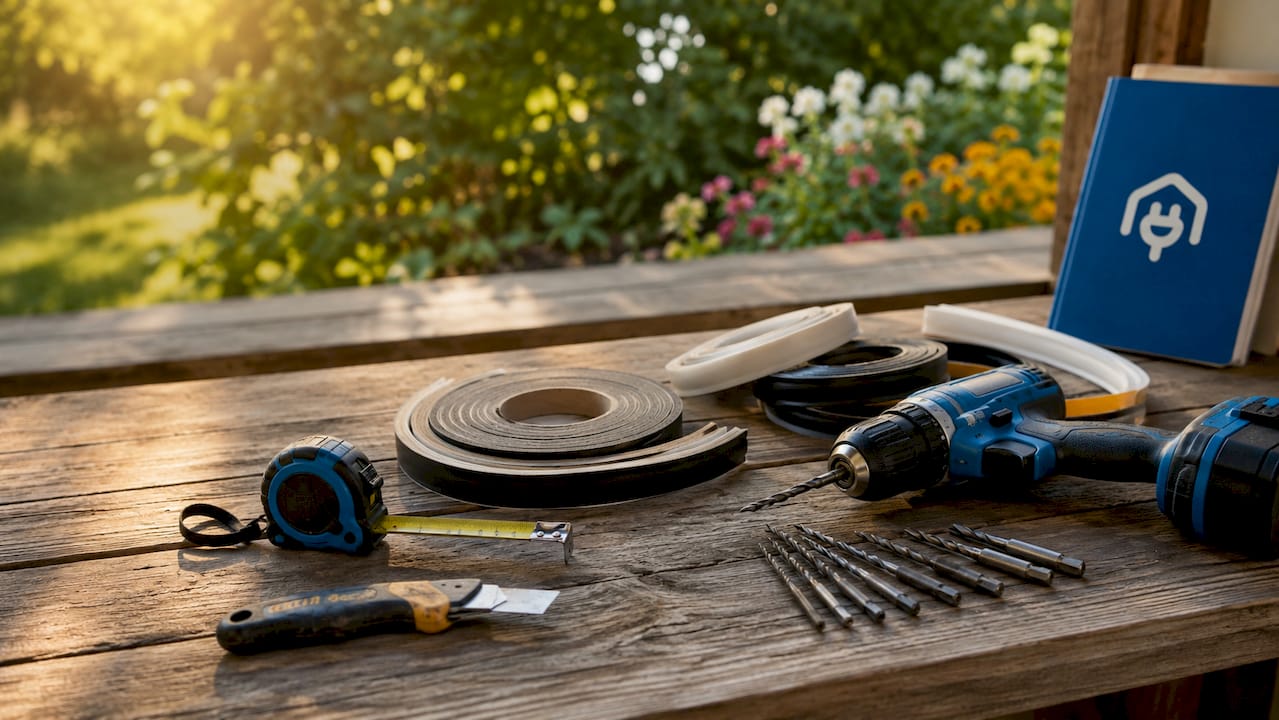
| Tool or material | Purpose |
|---|---|
| Tape measure | Accurate measurement of frame sides, top, and bottom |
| Utility knife | Clean cuts on V-strip, foam tape, and door sweeps |
| Rubbing alcohol | Surface cleaning before adhesive application |
| Screwdriver or drill | Fixing door sweeps and kerf-in seals |
| Foam tape or V-strip | Sealing sides and top of door frame |
| Door sweep | Sealing the gap at the bottom of the door |
Pro Tip: Purchase 5%–10% more material than your measurements suggest. Cutting waste and minor mistakes are inevitable, and running short mid-project means a second trip to the hardware shop.
How do you prepare the door and frame before fitting new seals?
Preparation is the step most DIYers skip. It is also the step that determines whether the seal bonds properly or peels away within weeks.
- Remove old weatherstripping. Pull it away carefully to avoid gouging the door stop or frame. Use a flat-head screwdriver to lift stubborn sections. Remove any staples or tacks left behind.
- Clean the surface thoroughly. Surface preparation is the most common failure point for DIY weatherstripping. A 50:50 mixture of water and isopropyl alcohol removes adhesive residue, grease, and oils effectively. Wipe the surface and allow it to dry completely before applying new seals.
- Check door alignment. Loose hinges or a sagging door cause uneven seal wear and early failure. Tighten all hinge screws before fitting any new material. If the door drags or does not close squarely, address that first.
- Confirm temperature conditions. Installation should be done above -7°C to ensure adhesives bond correctly. In the UK, this is rarely a concern in summer but worth checking during winter projects.
Pro Tip: Avoid soap or standard household cleaners on the bonding surface. They leave a residue that prevents adhesive from gripping. Isopropyl alcohol evaporates cleanly and leaves nothing behind.
Understanding how air leaks around doors affect your heating bills is worth exploring further. The Homeenergymodel guide on door air leaks and heating costs explains the broader picture clearly.
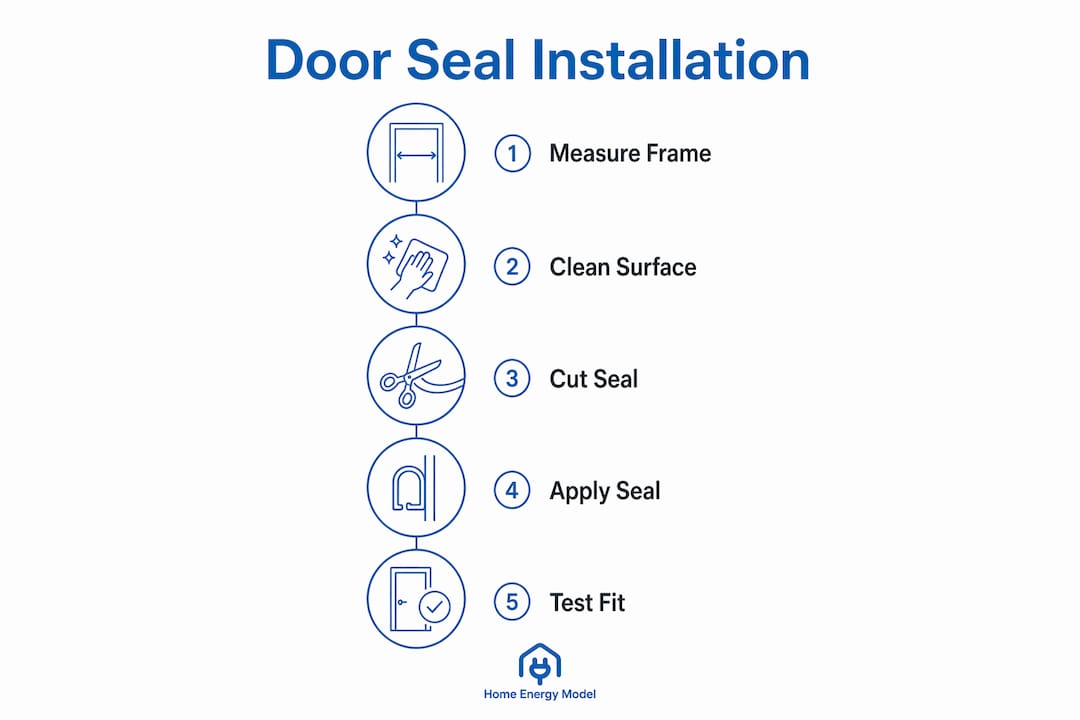
What are the step-by-step instructions for fitting different door seals?
The installation sequence matters. Fitting perimeter seals first, then the door bottom sweep, then the threshold is the recommended order. Reversing this sequence often causes interference between components and forces rework.
Fitting V-strip along the sides and top
- Measure the full height of each side of the door frame from the top of the door stop to the floor. Add 50mm to each measurement to allow for trimming.
- Cut the V-strip to length with scissors or a utility knife. The open side of the V faces the outside of the door when closed.
- Slide or press the strip into the channel on the door stop. For adhesive-backed V-strip, peel and press firmly from top to bottom, avoiding air pockets.
- Repeat for the top of the frame, cutting the strip to the exact width of the door opening.
- Close the door and check that the strip compresses evenly without causing resistance at the latch.
Applying foam tape as an alternative
Foam tape suits doors with irregular gaps or frames that are not perfectly straight. Choose a thickness that fills the gap without preventing the door from closing fully. Seals must provide a compression fit, not a friction fit. Excessively thick foam causes latching problems and wears unevenly within months.
Peel the backing and press the tape firmly onto the door stop, starting at one corner and working around the frame in a single continuous run where possible. Avoid stretching the tape as you apply it.
Fixing a door sweep at the bottom
- Measure the full width of the door at the bottom edge.
- Cut the sweep to length. Most aluminium-backed sweeps cut cleanly with a hacksaw or tin snips.
- Hold the sweep against the bottom of the door with the seal touching the threshold lightly. Mark the screw hole positions with a pencil.
- Drill pilot holes at each marked position to prevent the door from splitting.
- Screw the sweep into place, starting from the centre and working outward.
For automatic drop-down sweeps, test the drop mechanism before final tightening. Overtightening the screws disables the self-levelling action and causes the seal to fail prematurely.
Pro Tip: When fitting a sweep that requires a dado groove cut into the door bottom, hang the door first then install the sweep. Fitting the sweep before rehanging risks damaging the seal during installation. Also, clearance over carpet should be no more than 10mm to allow smooth operation.
Testing the seal with the dollar-bill method
The dollar-bill test is the standard method to verify weatherstripping effectiveness. Close the door on a folded piece of paper or a banknote. Pull it out slowly. The paper should meet slight, consistent resistance. Repeat this test at multiple points around the door perimeter, including the corners. No resistance means a gap remains. Excessive resistance means the seal is too thick and may stress the latch or hinges over time.
How to troubleshoot common door seal problems
Even a careful installation can produce issues. Knowing what to look for saves time and prevents wasted materials.
Common mistakes and how to fix them:
- Poor adhesion: Almost always caused by insufficient surface cleaning. Strip the seal, clean again with isopropyl alcohol, allow to dry fully, and reapply.
- Door sticking or failing to latch: The seal is too thick. Replace foam tape with a thinner grade, or switch to V-strip which compresses more predictably.
- Uneven gaps around the frame: The door is misaligned. Tighten hinges or adjust the strike plate before refitting any seals.
- Sweep dragging on the floor: Raise the sweep slightly so it contacts the threshold with light pressure rather than scraping. On automatic sweeps, check that the drop mechanism moves freely.
- Seals lifting at corners: Corners are the weakest point for adhesive-backed products. Apply a small amount of contact adhesive at each corner after the main seal is fitted.
Pro Tip: Inspect seals every autumn before the heating season begins. Foam tape typically lasts two to three years. V-strip and rubber kerf-in seals can last five to ten years with no maintenance beyond occasional cleaning.
Correct door alignment before fitting any seal. A well-aligned door with a properly fitted V-strip or foam tape will outperform an expensive seal fitted to a sagging or misaligned door every time.
Homeenergymodel also covers energy-saving improvements that complement door sealing, including window upgrades and insulation measures that compound the savings.
Key takeaways
Properly installed door seals reduce heating and cooling costs by 5%–10%, cost around £25–£30 in materials, and can be completed by any homeowner in one to three hours per door.
| Point | Details |
|---|---|
| Choose the right seal type | V-strip suits side and top frames; door sweeps address the bottom gap. |
| Clean surfaces with isopropyl alcohol | Soap and household cleaners leave residue that prevents adhesive bonding. |
| Check door alignment first | Loose hinges or a sagging door cause uneven wear and early seal failure. |
| Follow the correct sequence | Fit perimeter seals first, then the door sweep, then the threshold. |
| Test with the paper method | Pull a folded sheet from the closed door; slight resistance confirms a good seal. |
What I have learned from fitting door seals across different property types
Most guides treat door sealing as a simple afternoon task. It is, but only if the door itself is in good order. The single biggest cause of failed DIY weatherstripping projects is not poor materials or wrong technique. It is fitting new seals onto a door that was never properly aligned in the first place.
I have seen V-strip fitted perfectly to a door that sagged 5mm at the latch side. Within six weeks, the seal had compressed unevenly and the gap had returned. The homeowner blamed the product. The real problem was a hinge that needed two new screws.
My honest recommendation is to spend the first fifteen minutes of any door seal project testing the door itself. Open and close it slowly. Watch for daylight around the frame. Check whether the latch engages cleanly. If the door needs adjustment, do that before touching the weatherstripping.
On material choice, V-strip is underrated by most DIY guides. Foam tape gets recommended because it is cheap and easy to apply. But V-strip lasts significantly longer, compresses more consistently, and does not leave a sticky residue when it eventually needs replacing. For external doors in the UK, where temperature and humidity fluctuate considerably, V-strip is the better long-term choice.
The energy efficiency improvements that compound the most are the ones that address air leakage directly. Door seals are the lowest-cost entry point. Get them right and the savings are immediate and measurable.
— Danny
How Homeenergymodel can help you go further
Door sealing is one part of a broader approach to reducing heat loss and improving a property’s energy rating. For UK homeowners and landlords, understanding how individual improvements affect an Energy Performance Certificate (EPC) rating is increasingly important, particularly as regulations tighten under the Future Homes Standard. Homeenergymodel provides detailed guidance on home energy performance and what it means for your property’s EPC score. Whether you are preparing for a new assessment or planning a programme of upgrades, the resources at Homeenergymodel help you prioritise the measures that deliver the greatest return. Explore the full energy efficiency rating guide to understand where door sealing fits within your property’s overall performance picture.
FAQ
What is the best type of door seal for a UK external door?
V-strip is the most durable option for external doors, offering consistent compression and a long service life. Foam tape is a lower-cost alternative but typically needs replacing every two to three years.
How long does it take to fit weatherstripping on a door?
A full-door weatherstripping project takes one to three hours for most homeowners, including preparation, fitting, and testing.
How do I know if my door seal is working correctly?
Use the paper test: close the door on a folded sheet of paper and pull it out slowly. Consistent slight resistance at all points around the frame confirms the seal is effective.
Can I install a door sweep without drilling?
Some door sweeps use adhesive backing and require no drilling. However, screw-fixed sweeps are more secure and better suited to external doors that see regular use.
How often should door seals be replaced?
Foam tape typically lasts two to three years. V-strip and rubber kerf-in seals can last five to ten years. Inspect seals each autumn and replace any sections that have compressed flat, torn, or lost adhesion.