
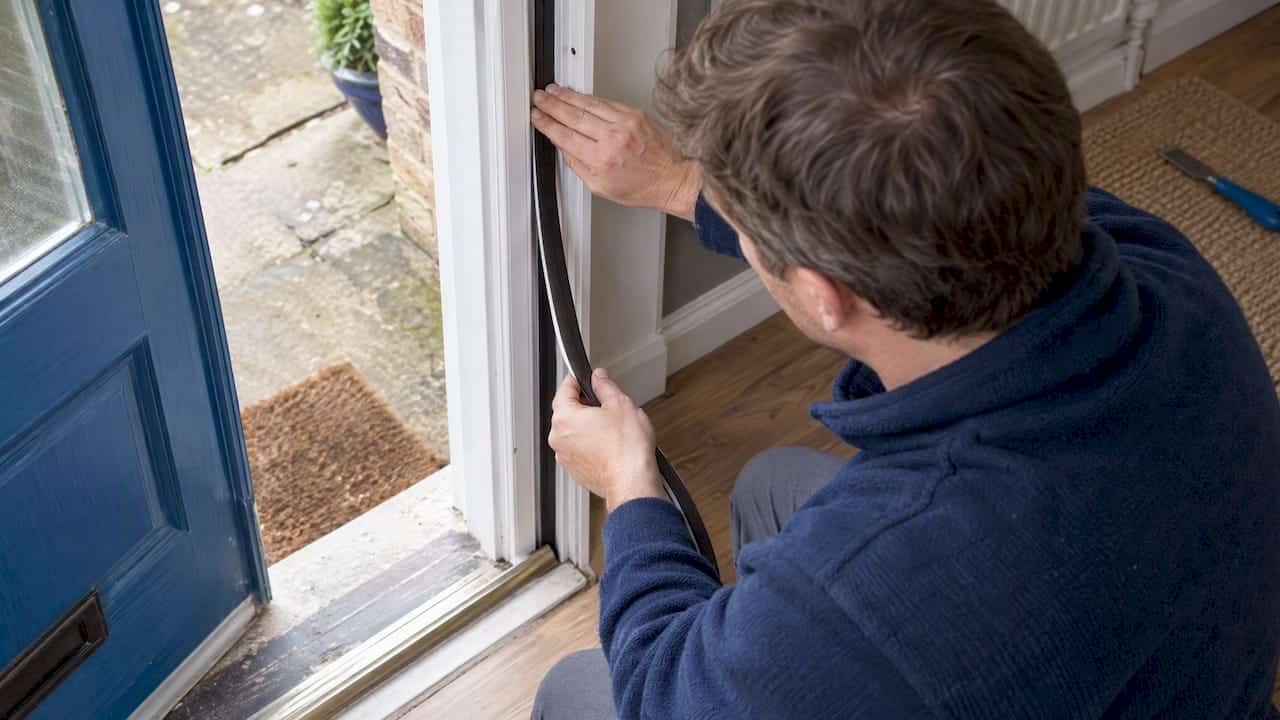
Yes, most homeowners can attach weather stripping themselves: use self-adhesive compression strips for frame gaps and a brush or door sweep for the bottom. Draught proofing reduces air leakage through windows by 33% to 50% and can save households money each year. Warped frames, large gaps or listed buildings call for extra care, or a professional. Whatever you fit, never block trickle vents or flues.
TL;DR:
- Weather stripping materials like EPDM or silicone compression strips last longer and provide better shape retention than foam strips, especially on high-use doors.
- Proper cleaning and drying of frames before installation are crucial, as dirt, paint, or moisture cause adhesive strips to peel off quickly.
- Avoid sealing trickle vents, vents for boilers or fires, and other ventilation routes, as blocking them can create safety hazards and reduce indoor air quality.
- Foam strips may need replacement within one to two years due to wear, while brush and EPDM seals last longer, reducing maintenance costs over time.
- Professional assessment is recommended for warped, rotten, or listed building frames, or complex gaps that off-the-shelf products cannot effectively seal.
Table of Contents
- Tools and materials you will need
- Preparing and inspecting the frame before you start
- Step-by-step: fitting weather stripping to external doors
- Step-by-step: fitting weather stripping to windows
- Handling French doors, garage doors and irregular gaps
- Choosing the right material for durability and appearance
- Common pitfalls worth avoiding
- How often to check and replace weather stripping
- Why small fixes add up to real savings
- When a professional energy assessment makes more sense
- FAQ
- Sources
Tools and materials you will need
Before buying anything, measure the gaps you are dealing with and match the material to the job. A tape measure, pencil, scissors or a utility knife, a screwdriver and some isopropyl or soapy water for cleaning will cover most jobs; a drill helps if you are fitting a mechanical fixing rather than relying on adhesive.
Material choice matters more than brand:
- Foam strips are cheap and easy to fit but wear out fastest, so treat them as a short-term fix.
- EPDM or silicone compression strips cost a little more but last considerably longer and hold their shape under repeated closing.
- Brush or wiper seals suit sliding sashes and uneven gaps where a solid strip would not compress evenly.
- Door sweeps and threshold bars handle the gap under a door, where draughts are often strongest.
DIY strip material typically runs around £2 to £3 per metre, and simple door sweeps or brush strips start from around £6.
Preparing and inspecting the frame before you start
A quick paper test tells you where the draughts actually are: shut a sheet of paper in the door or window and pull gently. If it slides out with no resistance, air is getting through at that point.
Before fitting anything, check for problems that adhesive strips cannot fix.
- Run your hand around the frame to feel for cold spots and visible gaps.
- Look for rotten wood, flaking paint or a frame that has warped out of square.
- Repair or stabilise any damaged timber first, since draught-proofing a distorted frame often fails once it moves again.
- Clean the surface with soapy water or isopropyl alcohol and let it dry fully.
- If you have just painted the frame, leave the paint to cure for at least 48 hours before sticking anything to it.
Pro Tip: Skipping the cleaning step is the single biggest reason self-adhesive strips peel off within weeks.
Step-by-step: fitting weather stripping to external doors
External doors usually need three separate fixes: the sides, the top and the bottom. Each uses a slightly different approach.
For the sides and top of the frame:
- Close the door and measure the gap at several points, since it is rarely identical top to bottom.
- Mark a faint pencil line along the frame where the door edge meets it, so you know exactly where the strip needs to compress.
- Cut the compression strip to length, peel back a short section of backing, and press it into place along the pencil guide.
- Work along slowly, peeling and pressing a little at a time, then close the door to check it still latches properly.
- Trim any excess length with scissors or a utility knife once you are satisfied with the fit.
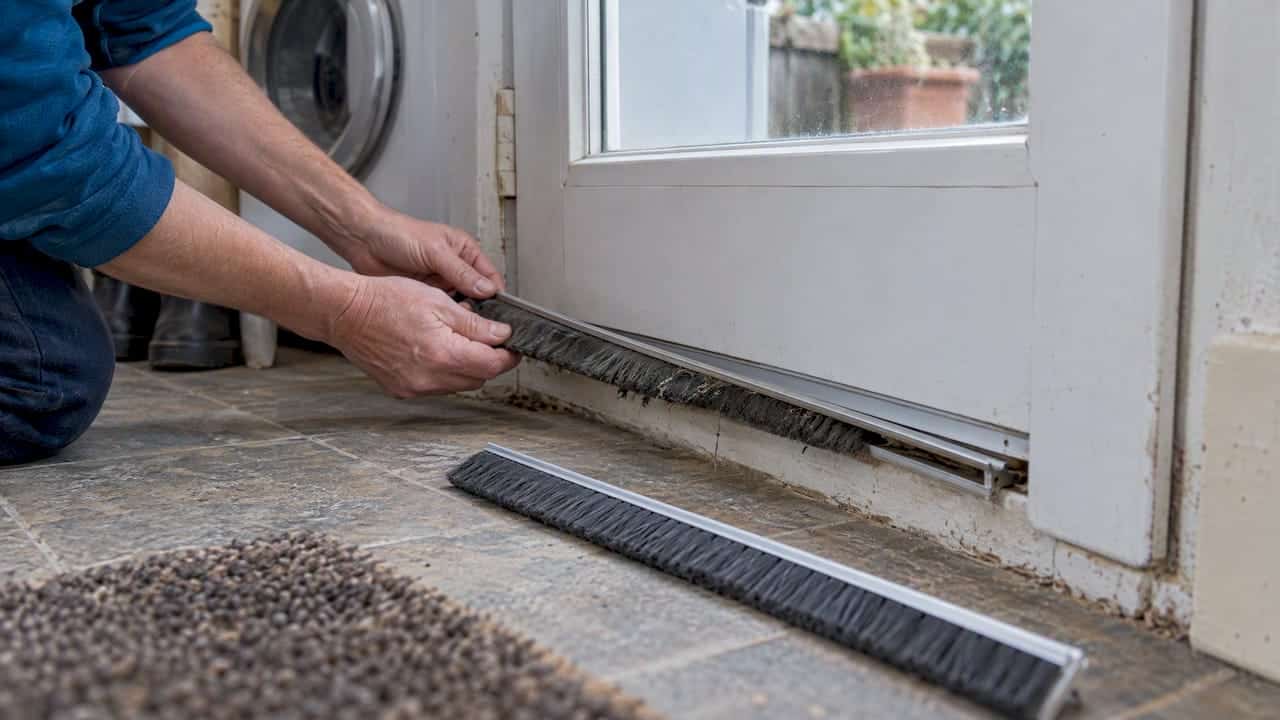
For the bottom of the door, a sweep or brush strip does the work. Adhesive versions are quicker to fit, while screw-on types hold up better on doors used frequently. Align the sweep along the bottom edge, fasten it, then open and close the door a few times to check it clears the floor without dragging.
A few extra points worth covering:
- Fit a purpose-made letterbox brush or flap if cold air is coming through the letterplate.
- Use a keyhole cover on older mortice locks where draughts whistle through.
- Never seal over an air brick, extractor vent or anything feeding a boiler or fire, since combustion appliances need that air to work safely.
Step-by-step: fitting weather stripping to windows
Windows need more thought than doors because casement, sash and sliding frames move differently.
- Identify your window type and pick the matching seal: brush or pile seals for sliding sashes, adhesive foam or compression strips for casement windows that swing shut against the frame, and specific wiper seals for sliding units.
- Measure each side separately and mark your cutting lines before you touch the strip, since window gaps often vary more than door gaps do.
- Cut cleanly with sharp scissors so the end sits flush rather than fraying.
- For carrier-mounted brush seals, fit the plastic carrier to the frame first, then slide or insert the brush pile into it afterwards.
- Close the window fully after each section to confirm it still operates smoothly and the seal is actually compressing.
Some sash windows need a groove routed into the frame for the seal to sit in, and some older timber windows are pinned rather than stuck. If your window calls for grooving, pinning or screwed metal strips rather than a simple stick-on seal, that is a sign to bring in a joiner or specialist installer rather than forcing a product that was not designed for the gap.
Handling French doors, garage doors and irregular gaps
Some openings do not fit the standard door or window approach. French doors need a V-strip or a meeting-rail seal designed for where the two leaves meet, since a single flat strip will not seal that junction properly.
- French doors: fit a V-strip or meeting-rail specific seal between the leaves, not a standard side seal.
- Garage doors: pair a threshold seal at the base with a bottom brush or compressible rubber seal along the sides.
- Large or irregular gaps: commercial-style gaps often need specialist parts rather than off-the-shelf DIY strips.
- Warped frames or gaps beyond a product’s stated range: consider secondary glazing or proper joinery repair instead of forcing a seal to work.
Choosing the right material for durability and appearance
Match the strip to the gap, not just the price tag; for more on ensuring effective insulation through window and frame selection, see isolamento termico serramenti. Foam suits small, even gaps on windows that close cleanly. Brush seals handle uneven or moving surfaces, which is why they turn up so often on sash windows. EPDM or silicone compression strips cost more up front but compress reliably over thousands of closures.
- Foam: cheapest, shortest life, best for small even gaps.
- Brush or pile: flexible, suits uneven or sliding surfaces.
- EPDM or silicone: most durable, holds shape under repeated use.
DIY weather stripping material costs around £2 to £3 per metre, which makes even a full-house job relatively cheap compared with professional installation. Silicone strips also come in a range of colours, so visible frames can be colour-matched rather than left with an obvious white or black line.
Common pitfalls worth avoiding
A few small mistakes account for most failed installations. Blocking a trickle vent, extractor flue or combustion vent while sealing up a frame is one of them, and the Energy Saving Trust is clear that ventilation routes need to stay open.
- Do not block trickle vents, extractor flues or any vent feeding a boiler or fire.
- Test fit a strip loosely before committing to a permanent trim.
- If adhesive will not grip on a dirty or freshly painted surface, switch to a mechanical fixing instead of forcing it.
Pro Tip: If a strip keeps lifting at one corner, the surface underneath is still dirty or damp, not the adhesive.
How often to check and replace weather stripping
A paper test every six to twelve months, and again after a harsh winter, tells you whether your seals are still doing their job. Foam wears out fastest and may need replacing within a year or two of regular use, while brush and EPDM seals last considerably longer.
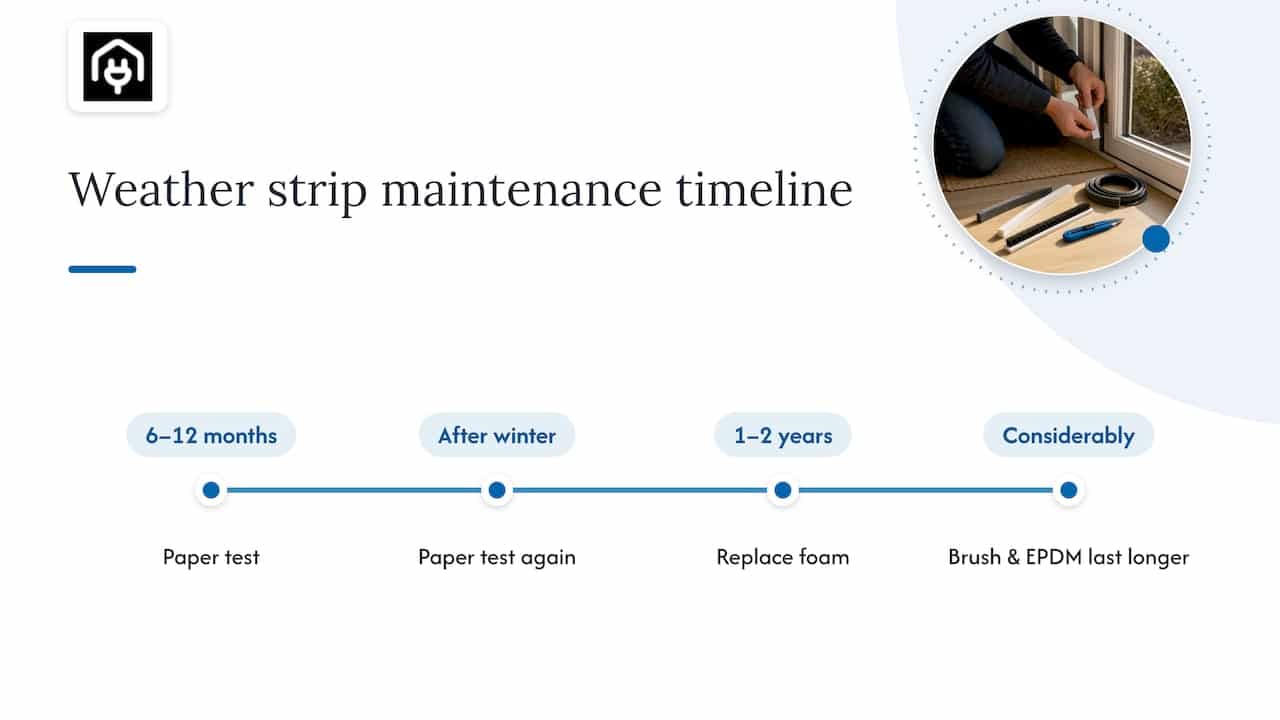
Replacing a worn strip is quick: peel off the old adhesive strip, clean the surface again, and stick on a fresh length. With carrier-mounted brush seals, you can usually slide out just the worn pile and leave the carrier in place, which keeps replacement cheap over the years.
Why small fixes add up to real savings
Draught proofing is one of the few home improvements where a weekend with a tape measure and a few metres of strip produces a measurable result. The Energy Saving Trust puts the air leakage reduction at 33% to 50%, with savings of up to £55 a year in Great Britain and up to £80 in Northern Ireland.
Treat this as a starting point rather than the finish line. Our guide to draught proofing windows covers the whole-house approach, and for a door-specific breakdown, our weather stripping guide for doors goes further into technique.
— Danny
When a professional energy assessment makes more sense
DIY draught proofing handles most gaps, but warped or rotten frames, listed buildings, or signs of condensation and poor ventilation often point to something a strip alone will not fix. A Domestic EPC assessment looks at the whole property and gives us a prioritised, costed list of measures rather than a guess.
- Book an assessment if frames are warped, rotten or part of a listed building.
- Use the findings to decide where draught proofing fits against bigger measures like glazing upgrades.
Request a Domestic Energy Performance Certificate to get a clear, prioritised starting point for your home.
FAQ
How do I install stick-on weather stripping?
Clean the surface, mark a pencil guide where the strip needs to sit, then peel back a short length of backing at a time and press the strip firmly into place along the line. Close the door or window straight away to check it still operates properly before trimming any excess.
Do I need adhesive for weather stripping on a door?
Adhesive works well for most stick-on compression strips and foam, but a frequently used door often holds a seal better with a screwed or pinned fixing. If the surface is dirty, damp or freshly painted, adhesive is likely to fail, so a mechanical fixing is the safer choice.
How do I install weather stripping on French doors?
French doors need a V-strip or a meeting-rail specific seal fitted where the two leaves meet, rather than a standard side seal designed for a single door edge. Measure the gap with both doors closed, then fit the seal so it compresses evenly along the full meeting point.
How do I install a window seal?
Choose a brush or pile seal for sliding sashes, or an adhesive foam or compression strip for casement windows, then measure and cut each side separately before fitting. For carrier-mounted brush seals, fit the carrier to the frame first and insert the pile afterwards, checking the window still closes smoothly at each stage.
Sources
- Draught proofing – Energy Saving Trust
- Energy efficiency and historic buildings: draught-proofing windows and doors – Historic England
- Draught proofing – Which?