
TL;DR:
- Thermal bridging causes up to 30% of heat loss and can lead to damp issues.
- Addressing junctions with bespoke calculations and quality installation improves energy performance.
- Managing thermal bridges is essential for legal compliance, reducing costs, and maintaining property value.
Up to 30% of heat loss in a building can occur through invisible weak spots in the thermal envelope, yet thermal bridging remains one of the least discussed energy issues in UK property. For homeowners, landlords, and investors, this hidden problem quietly inflates heating bills, creates damp and mould risks, and can undermine compliance with regulations such as the Minimum Energy Efficiency Standards (MEES). This guide explains what thermal bridging is, how it is measured, what the regulations require, and the practical steps that can be taken to address it effectively.
Table of Contents
- What is thermal bridging?
- Measuring and modelling thermal bridges
- Thermal bridging and UK building regulations
- How to prevent and mitigate thermal bridges
- Why the performance gap matters more than calculations suggest
- Take the next step to efficient, compliant property
- Frequently asked questions
Key Takeaways
| Point | Details |
|---|---|
| Thermal bridging basics | Heat can escape through weak spots in a property’s structure, causing big energy losses. |
| Regulations matter | Failing to control thermal bridging could lead to non-compliance and lower EPC ratings. |
| Prevention is possible | Good design, quality insulation, and practical upgrades can effectively reduce or eliminate thermal bridges. |
| Check, don’t guess | Post-completion checks and professional advice are key to avoiding surprises and achieving real energy savings. |
What is thermal bridging?
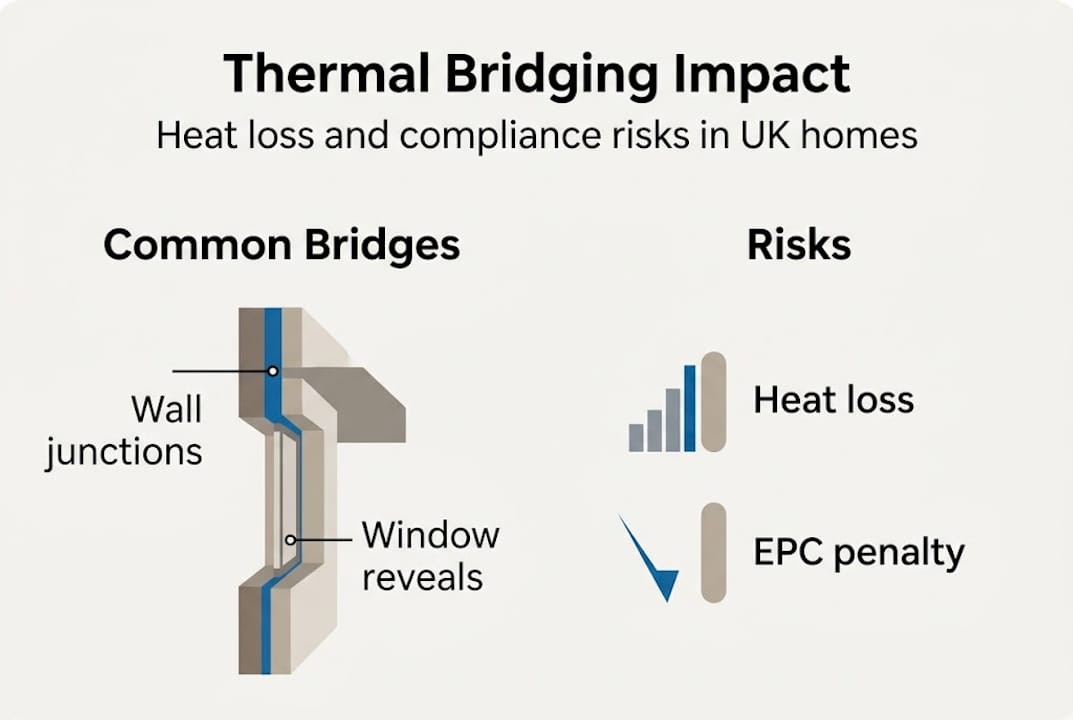
Thermal bridging occurs when heat finds a path of least resistance through a building’s structure, bypassing insulation and escaping to the outside. As Recticel Insulation explains, thermal bridging is where heat escapes through more conductive materials or breaks in insulation, undermining the building’s thermal envelope. Common culprits include wall ties, steel lintels, balcony connections, window frames, and any metal component that penetrates an insulation layer.
Understanding the different types of thermal bridges helps clarify where to look and what to do:
- Linear bridges occur at junctions between elements, such as where a wall meets a floor or roof.
- Point bridges are caused by individual fixings, brackets, or fasteners that penetrate insulation.
- Repeating bridges arise from regularly spaced structural elements like timber studs or floor joists within an insulated panel.
- Geometric bridges form at corners and angles where the external surface area is greater than the internal, naturally increasing heat flow.
Real-world examples are everywhere. Window reveals, parapet walls, and ground floor slab edges are particularly common problem areas in UK housing stock. Older properties with solid walls and minimal insulation are especially vulnerable.
| Bridge type | Typical location | Common cause |
|---|---|---|
| Linear | Wall-floor junction | Slab edge exposure |
| Point | Roof fixings | Metal fasteners |
| Repeating | Timber frame walls | Studs within insulation |
| Geometric | External corners | Reduced internal area |
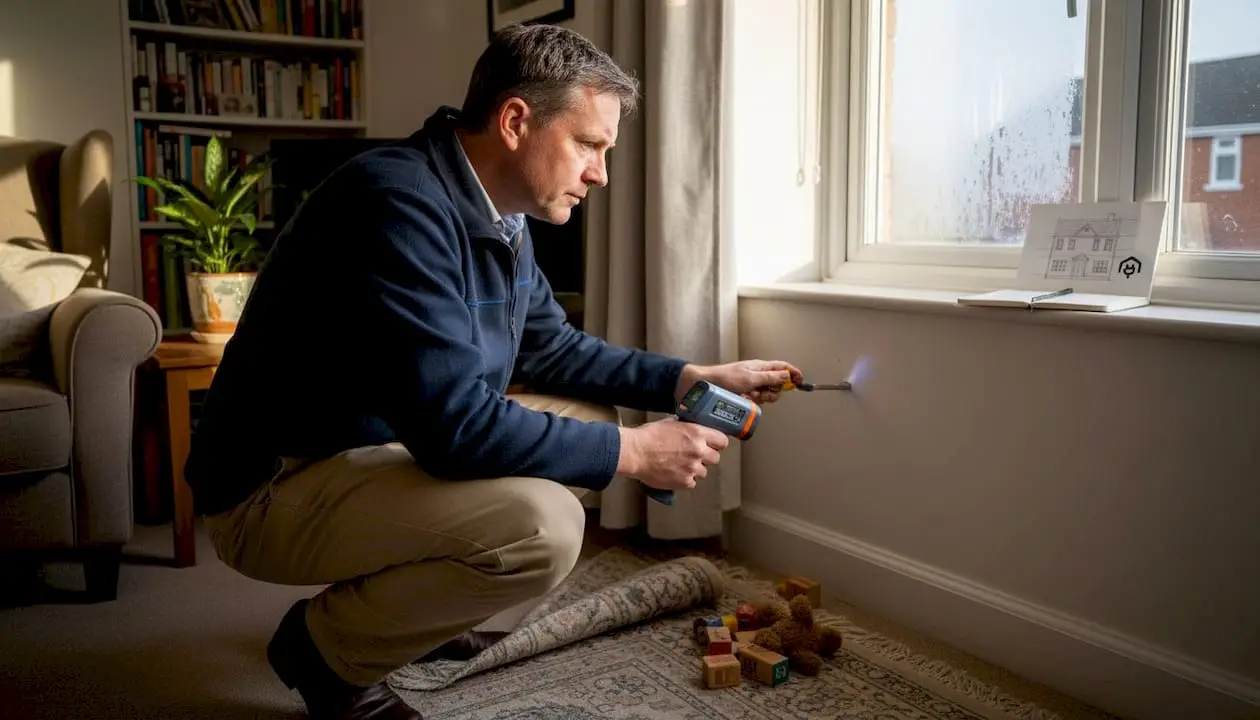
Spotting thermal bridges does not always require specialist equipment. Cold patches on internal walls, persistent condensation on window reveals, and recurring mould growth at floor-wall junctions are all warning signs. These visible symptoms indicate that heat is escaping and that surface temperatures have dropped below the dew point, creating conditions for moisture problems.
“Thermal bridging is not just an energy issue. It is a building health issue. Cold surfaces attract moisture, and moisture leads to mould, which affects both the structure and its occupants.”
For a detailed look at how thermal bridge energy loss affects UK homes specifically, it is worth exploring the full picture before deciding on remediation.
Measuring and modelling thermal bridges
Quantifying thermal bridging is essential for accurate energy modelling and regulatory compliance. Three key values are used in practice:
- Psi-value (Ψ, W/mK): Measures the additional heat loss per metre of a linear junction, beyond what the adjacent elements already account for.
- Y-value (W/m²K): An average bridging factor applied across the whole building envelope, representing the overall penalty from all junctions combined.
- U-value (W/m²K): Measures the thermal transmittance of a building element such as a wall, floor, or roof, including repeating bridges within it.
According to Recticel’s guidance, the heat loss at a junction is calculated by multiplying the Psi-value by the junction length. Default y-values used in SAP calculations typically range between 0.15 and 0.20 W/m²K, and these defaults can significantly penalise a property’s energy rating if bespoke calculations are not used.
- Identify all junctions in the building fabric (wall-floor, wall-roof, window reveals, etc.).
- Measure the length of each junction.
- Assign a Psi-value, either from approved construction details or a bespoke calculation.
- Multiply each Psi-value by its junction length to get the additional heat loss.
- Sum all junction losses and feed them into the SAP calculation alongside U-values.
| Approach | Y-value | Impact on EPC |
|---|---|---|
| Default (poor detailing) | 0.20 W/m²K | Significant penalty |
| Default (good detailing) | 0.15 W/m²K | Moderate penalty |
| Bespoke (accredited details) | 0.05–0.08 W/m²K | Minimal penalty |
The difference between default and bespoke values is substantial. A property using bespoke Psi-values from accredited construction details can achieve a y-value as low as 0.05 W/m²K, compared to 0.20 W/m²K for poor detailing. Over a typical semi-detached house, this difference can shift an EPC rating by one or even two bands.
Pro Tip: Commissioning a bespoke thermal bridge calculation is most cost-effective at the design stage. Retrofitting a correction after construction is far more expensive and disruptive.
For those navigating Part L compliance, understanding how these values feed into the Target Emission Rate (TER) is critical to achieving a passing result.
Thermal bridging and UK building regulations
Thermal bridging sits at the heart of UK energy compliance. Part L of the Building Regulations requires that thermal bridging be minimised, and failing to manage it directly penalises SAP and SBEM calculations, potentially compromising EPC ratings and MEES compliance.
For landlords, the stakes are particularly high. Properties in England and Wales must currently achieve a minimum EPC rating of E to be legally let. Government proposals would raise this to C by 2028 for new tenancies. A property with unaddressed thermal bridges may fall short of these thresholds, exposing landlords to fines, void periods, and reduced asset value.
Key regulatory implications include:
- EPC ratings: Poor bridging details reduce SAP scores, lowering the EPC band.
- MEES compliance: Properties below the minimum EPC threshold cannot be legally rented.
- Target Emission Rate: Thermal bridges inflate the calculated carbon emissions, making it harder to meet the TER under Part L.
- Future Homes Standard: From 2026, stricter targets will demand up to 80% carbon reductions, with wall U-values of 0.18 W/m²K and floor U-values of 0.13 W/m²K, leaving very little margin for unmanaged bridging.
“The Future Homes Standard will make thermal bridging management non-negotiable. Properties designed without bespoke bridge calculations will struggle to meet the new targets.”
For investors, this has direct financial consequences. A property that cannot achieve EPC C without major works will require capital expenditure, and the cost of addressing thermal bridging post-construction is far greater than managing it at the design stage. Reviewing the energy regulations guide provides a clear picture of what is coming and when.
The impact on heat loss extends beyond compliance. Higher heating demand means higher bills for tenants, which increasingly affects rental desirability and tenant retention.
How to prevent and mitigate thermal bridges
Addressing thermal bridging requires a systematic approach, whether working on a new build or an existing property. The core principle is continuity: insulation layers must connect without interruption, and conductive materials must not bridge across them.
For new build projects, the following measures are most effective:
- Use insulated cavity closers at window and door reveals to maintain the insulation line.
- Specify insulated steel lintels rather than standard steel, which conducts heat rapidly.
- Select low-conductivity wall ties in cavity wall construction.
- Ensure the insulation layer wraps continuously at all junctions, including slab edges and parapet walls.
- Follow BR 497 or EN ISO 10211 standards for bespoke Psi-value calculations where accredited details are not available.
For retrofit projects, the challenge is greater. Existing junctions are often inaccessible without significant disruption. However, targeted interventions can still make a meaningful difference:
- Upgrade window installations to include insulated reveals and closers.
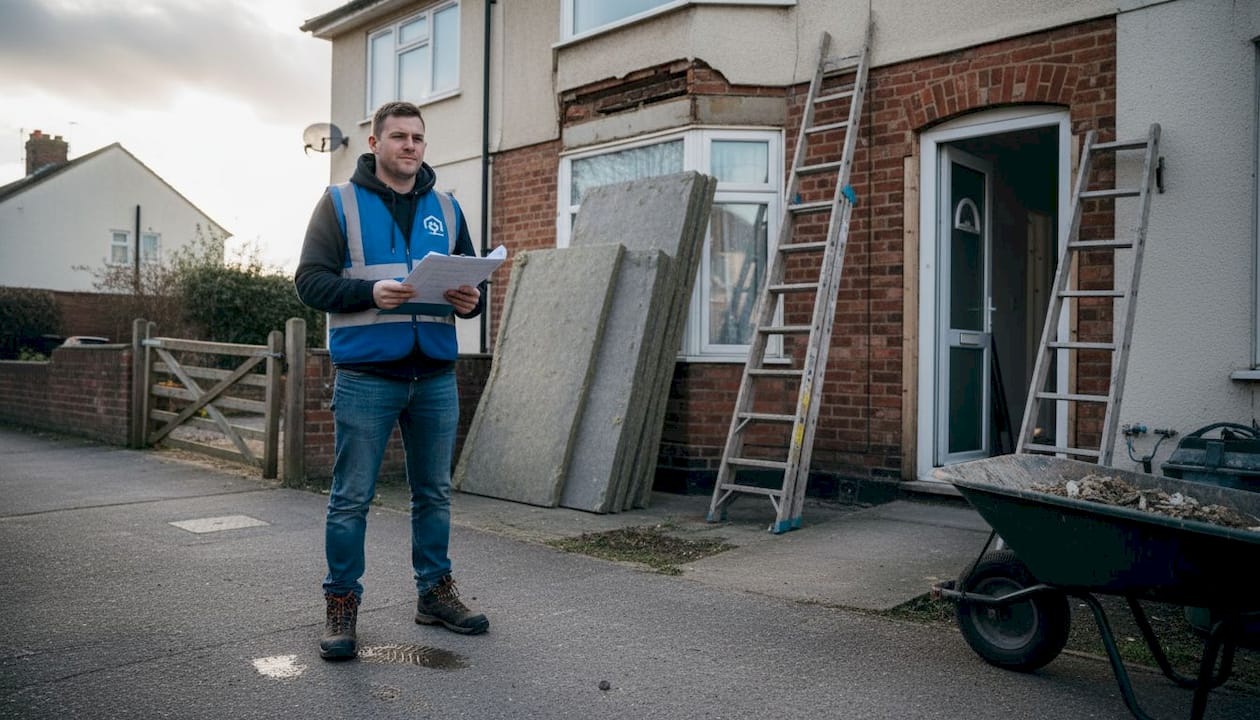
- Apply external wall insulation (EWI) to wrap the entire facade, eliminating many linear bridges at once.
- Address ground floor edges with perimeter insulation where accessible.
- Commission a thermal imaging survey to identify the worst offenders before committing to remediation spend.
Pro Tip: External wall insulation is one of the few retrofit measures that addresses multiple bridge types simultaneously, covering wall-floor, wall-roof, and window junction bridges in a single installation.
Quality control on site is just as important as specification. Even the best design can be undermined by poor installation. Checking that insulation is correctly positioned at junctions, and that no metal components have been inadvertently introduced, can prevent costly problems later. Reviewing energy efficiency examples from UK properties shows how practical these measures are in real projects. For those looking to go further, understanding how to reduce carbon footprint at home provides a broader framework for improvement.
Why the performance gap matters more than calculations suggest
There is a persistent and uncomfortable reality in UK construction: a building can pass every calculation on paper and still perform poorly in practice. Research consistently shows that default values overestimate heat loss in well-detailed buildings, but bespoke calculations are only as reliable as the construction that follows them. On-site shortcuts, poor sequencing, and rushed installations routinely introduce bridges that were never in the design.
The performance gap in UK property is well documented. Homes often consume significantly more energy than their EPC rating predicts, and thermal bridging is a major contributor. A calculation that assumes perfect junction detailing will always produce an optimistic result if the actual construction falls short.
The practical lesson is clear. Calculations are necessary but not sufficient. Post-completion thermal imaging, site inspections at critical stages, and clear communication between designers and contractors are what genuinely close the gap between predicted and actual performance. Owners and landlords who rely solely on a passing SAP score may find that their properties still underperform, overheat in summer, and generate tenant complaints in winter. Attention to execution, not just compliance, is what delivers results.
Take the next step to efficient, compliant property
Understanding thermal bridging is the first step. Acting on it is what protects property value, ensures regulatory compliance, and keeps tenants comfortable. Homeenergymodel.co.uk offers a range of resources to help property owners and landlords move forward with confidence. Explore the guide to types of home energy models to understand which assessment approach suits your portfolio. The EPC guide for London provides practical advice on ratings and compliance in one of the UK’s most regulated markets. For a full picture of what is changing and why, the Home Energy Model explained sets out the new government methodology replacing SAP in 2026 and what it means for assessments going forward.
Frequently asked questions
How do I know if my property has thermal bridges?
Look for cold spots, condensation, or mould on walls, particularly around windows, wall-floor junctions, and corners. A professional thermal imaging survey can reveal hidden bridges that are not visible to the naked eye.
Does thermal bridging affect my EPC rating?
Yes. Excessive thermal bridging worsens SAP and SBEM results, which directly reduces the EPC score and can push a property below the MEES minimum threshold required for legal letting.
What are the most cost-effective ways to fix thermal bridging?
For new builds, use continuous insulation and insulated lintels from the outset. For existing homes, upgrading window closers, adding insulated reveals, and applying external wall insulation offer the best return on investment.
Why do regulations focus so much on thermal bridging?
Because thermal bridges can account for up to 30% of heat loss in a building, regulations mandate strict limits to ensure homes remain genuinely efficient rather than just compliant on paper.
Is it possible to make an old property compliant?
Yes, though it is often challenging. Bespoke solutions and professional modelling are usually required for older buildings, with targeted insulation upgrades and careful attention to junction detailing being the most effective approach.
Recommended
- EPC Blogs: Discover smart meters, UK heating systems, and energy performance insights.
- Building envelope: Key to UK property energy efficiency
- Top energy efficiency examples for UK property owners
- Make old homes efficient: proven upgrades for UK properties
- Why use door thresholds? Key benefits for UK homes