
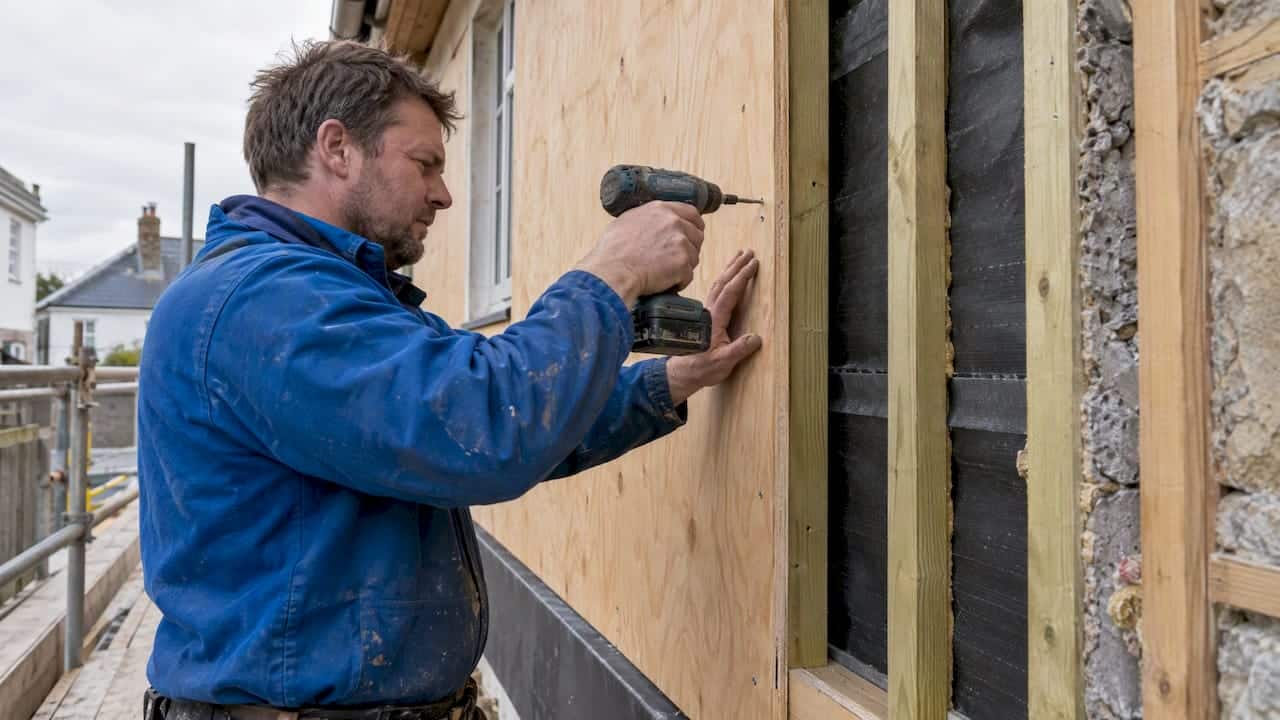
Exterior plywood works well as siding, but only when it carries the right classification and goes up with proper moisture control. The panel must meet BS EN 636 Class 3, bonded with weather and boil proof (WBP) adhesive, and it must sit over a back ventilated cavity with a breather membrane behind it. Skip either check and even a premium sheet will fail early.
TL;DR:
- Check the declaration of performance for BS EN 636 Class 3 and BS EN 13986; face grades such as B/BB do not establish weather resistance.
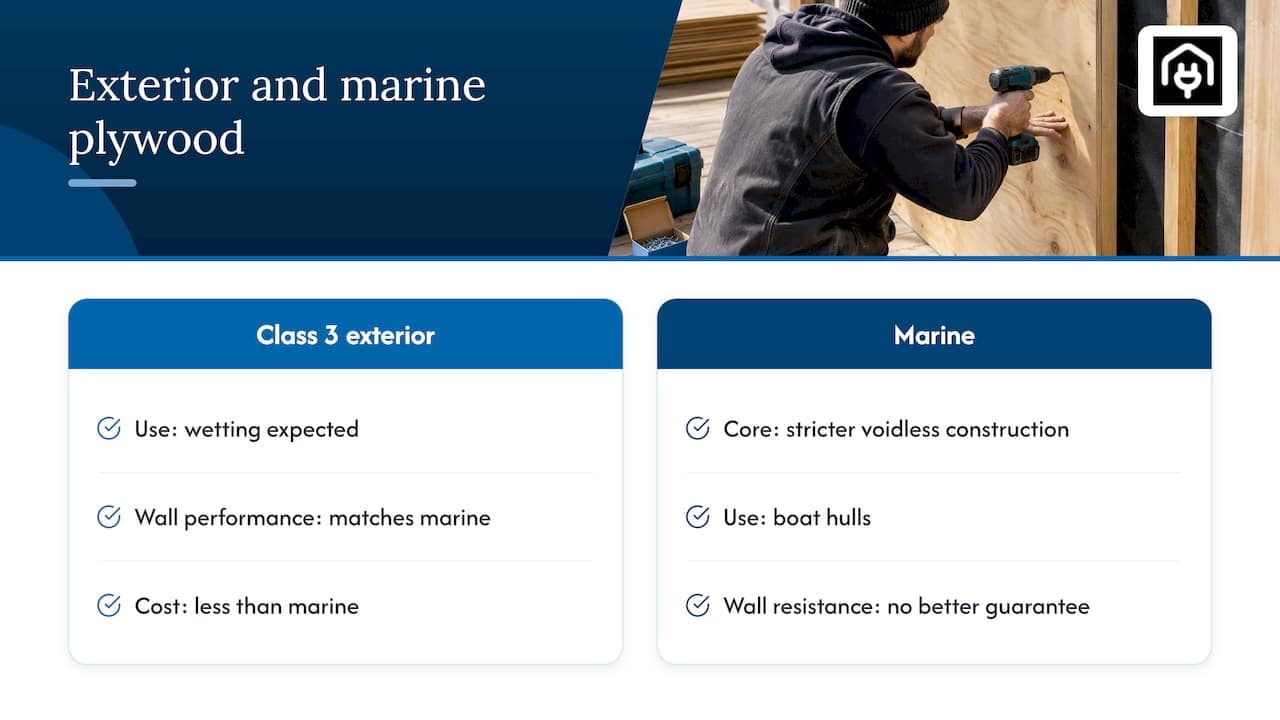
- Marine plywood is not automatically better for siding: its voidless core targets boat construction, while correctly specified Class 3 exterior panels usually cost less.
- Install a breather membrane behind vertical battens, leave a ventilated cavity, and seal every cut edge; direct fixing traps moisture and accelerates decay.
- Protect the timber face with paint, stain, oil, or laminate, and prime all faces and edges; painted or stained panels need recoating every few years.
- For buildings over 18 metres, combustible cladding is restricted, and standard exterior plywood does not meet the required A1 or A2 fire classifications.
Table of Contents
- What exterior plywood is and the standards that matter
- Grades, adhesives and commercial names: what to look for
- Sizes and thicknesses commonly used for plywood siding
- Protective treatments and surface finishes for long life
- Installation best practice: moisture control and ventilated assemblies
- Fire and regulatory considerations for external walls
- Practical takeaway: when exterior plywood is the right choice
- FAQ
- Sources
- Primary standards and guidance the reader should consult
What exterior plywood is and the standards that matter
Plywood is built from thin wood veneers glued together with the grain direction alternating in each layer. That cross grain layup gives the panel its strength in both directions and keeps it dimensionally stable compared with solid timber boards.
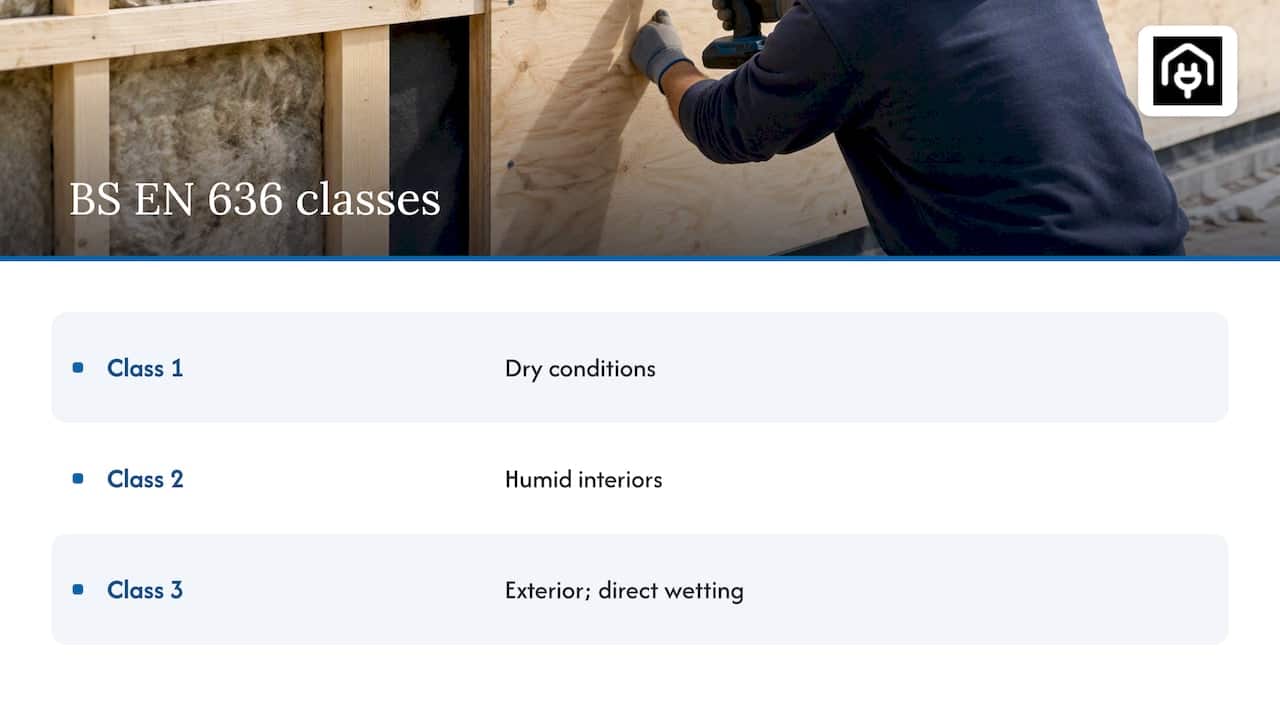
Not every sheet is fit for outdoor use, which is why BS EN 636 matters so much when selecting siding. The standard splits plywood into three classes: Class 1 for dry conditions, Class 2 for humid interiors, and Class 3 for exterior exposure where the panel faces direct wetting. Only Class 3 plywood, bonded accordingly, holds up against rain, splashback and prolonged humidity swings.
Alongside this, BS EN 13986 governs wood based panels used in construction generally, setting out the characteristics manufacturers must declare and how conformity gets evaluated and marked. A genuine exterior sheet should come with a declaration of performance referencing both standards, not just a merchant label reading “exterior grade.”
Grades, adhesives and commercial names: what to look for
Merchants rarely print “Class 3” on the price ticket. Instead, panels get sold under names like exterior plywood, hardwood exterior ply, or face grades such as B/BB, where the letters describe the quality and number of visible defects on each face rather than weather resistance on their own.
The adhesive is the part that actually determines exterior suitability. WBP (weather and boil proof) glue lines are the common standard for outdoor cladding panels, and Hanson-plywood notes that only plywood meeting Class 3 of BS EN 636 should be specified where wetting is expected, regardless of the grade name printed on the sheet. Always check the product datasheet rather than relying on the merchant description alone.
“Marine” plywood is often assumed to be the toughest option, but the term refers to a stricter standard for voidless core construction, aimed at boat hulls and similar applications, rather than a guarantee of better weather resistance on a wall. For siding, a correctly specified exterior or Class 3 panel usually performs just as well and costs less than true marine grade.
Sizes and thicknesses commonly used for plywood siding
Standard sheets come in a range of familiar sizes, and choosing one that matches the wall dimensions, or comes close, cuts down on offcuts and reduces the number of horizontal or vertical joints that need detailing and sealing. Choosing a size that matches the wall dimensions, or close to it, cuts down on offcuts and reduces the number of horizontal or vertical joints that need detailing and sealing.
Thickness depends on the job. Thin faced panels work as decorative facings over a structural backing, while thicker sheets may provide enough stiffness to act as the primary cladding layer with wider batten spacing. Thinner panels need closer support centres to avoid flexing and panel bow between fixings.
Cut edges should always be sealed before installation, since exposed end grain absorbs moisture fastest. Vertical joints are typically shiplapped, battened, or covered with a flashing strip to shed water rather than butted flush.
Protective treatments and surface finishes for long life
Raw exterior plywood will not survive long outdoors without a finish, even when it meets Class 3. The bonding resists moisture penetration into the glue line, but the timber face still needs protection from UV breakdown and surface wetting.
Common finishing routes include:
- Factory applied laminates, which bond a weather resistant film to the face during manufacture.
- Exterior grade paints and stains, reapplied on a maintenance cycle to refresh colour and water resistance.
- Penetrating oils and varnishes, which feed the timber surface rather than sitting on top of it.
- Specialist laminating services, applied after manufacture for decorative or extra protective finishes on existing sheets.
Pro Tip: Seal every cut edge with an exterior primer or edge sealant before fixing, since untreated edges are where rot usually starts first.
Preparation matters as much as the finish itself. Priming all faces, including edges, before installation can extend the service interval between recoats. Most painted or stained plywood siding needs attention every few years depending on exposure, while laminated or oiled finishes vary in how often they need refreshing. None of these treatments substitutes for the ventilated assembly described below; they extend the surface life of the panel, not its structural tolerance for standing water.
Installation best practice: moisture control and ventilated assemblies
Direct fixing of plywood siding straight onto a solid wall or sheathing, with no cavity behind it, is the single most common cause of early failure. Moisture gets trapped against the back face with nowhere to escape, and rot sets in long before the front face shows any sign of trouble. Forest Research guidance on external timber cladding sets out detailed drawings precisely because this detail is so often got wrong.
A sound installation sequence looks like this:
- Fix a vapour permeable breather membrane to the structural wall or sheathing, lapped correctly to shed water downward.
- Install vertical battens over the membrane to create a back ventilated cavity, with clearances sized for the exposure zone.
- Fit horizontal counter battens or noggins where the cladding needs additional fixing support.
- Fix the plywood panels to the battens, leaving expansion gaps at joints to allow for movement.
- Seal cut edges and joints with flashing or sealant appropriate to the detail, never relying on the panel face alone.
Where insulation sits behind the wall buildup, an airtightness and vapour control layer (AVCL) belongs on the warm side of the insulation, not behind the cladding itself. Ventilation rates, AVCL placement and exposure all affect condensation risk, and government research into moisture resistance confirms that getting these details wrong is a leading cause of hidden decay in timber built walls. For readers detailing the insulation side of this buildup, our guide to thermal bridging in UK properties covers where the vapour control layer needs to sit relative to the insulation zone.
Fire and regulatory considerations for external walls
Timber based claddings, including plywood, face a hard regulatory limit on certain buildings. Government guidance restricts combustible materials in the external walls of buildings over 18 metres, and Approved Document B is the reference point for the specific fire performance requirements that apply.
Where that threshold applies, materials generally need to achieve European Class A2-s1,d0 or A1 under BS EN 13501-1, classifications that standard exterior plywood does not meet. For houses and low rise buildings below that height, plywood siding remains a normal and accepted choice, but it is worth checking the declaration of performance for the specific panel and speaking to building control on any borderline project before committing to a specification.
Practical takeaway: when exterior plywood is the right choice
Exterior plywood earns its keep on sheltered to moderately exposed elevations, fitted over a properly ventilated assembly and kept on a sensible maintenance cycle. That combination, rather than the panel grade alone, decides how long the cladding lasts.
For buildings over 18 metres, very exposed coastal sites, or anywhere a client wants a low maintenance facade, a non-combustible or more inherently durable cladding earns its higher price. Readers weighing cladding against a wider insulation upgrade may also find our piece on cladding types and when they trigger insulation changes useful before finalising a specification.
— Danny
FAQ
What’s the difference between interior and exterior plywood?
Interior plywood is bonded for dry conditions only and will delaminate if it gets wet repeatedly, while exterior plywood meeting BS EN 636 Class 3 uses weather and boil proof adhesive designed to withstand direct wetting. The classification sits in the glue line and bonding quality, not just the timber species used.
Can you use 3/8 plywood for wall sheathing?
Thickness depends on the job. Thin faced panels work as decorative facings over a structural backing, while thicker sheets may provide enough stiffness to act as the primary cladding layer with wider batten spacing. Thinner panels need closer support centres to avoid flexing and panel bow between fixings.
What are the four grades of plywood?
Plywood grading generally covers the quality of each face, often labelled A, B, C and D, from the cleanest and most defect free face down to one with knots, patches or open defects. Exterior cladding commonly uses B or BB faced panels, but the face grade is separate from the exposure classification set by BS EN 636.
What are the differences between CDX and ACX plywood?
CDX and ACX are North American grading terms rather than British ones, with the letters describing face and back quality and the X indicating exterior glue. In the UK, the equivalent distinction is made through face grades like B/BB combined with the BS EN 636 exposure class rather than a CDX or ACX label.
Sources
- Hanson-plywood
- Gov
- BS EN 636:2012+A1:2015 | 31 Jan 2013 | BSI Knowledge
- External timber cladding: design, installation and performance – Forest Research
Primary standards and guidance the reader should consult
For formal specifications, BS EN 636 and BS EN 13986 remain the primary documents governing plywood classification and construction panel characteristics. Forest Research publishes detailed cladding design and installation guidance, and government guidance on combustible materials sets the regulatory limits for taller buildings. Always check the declaration of performance supplied with a specific panel and raise borderline cases with building control before specifying.