
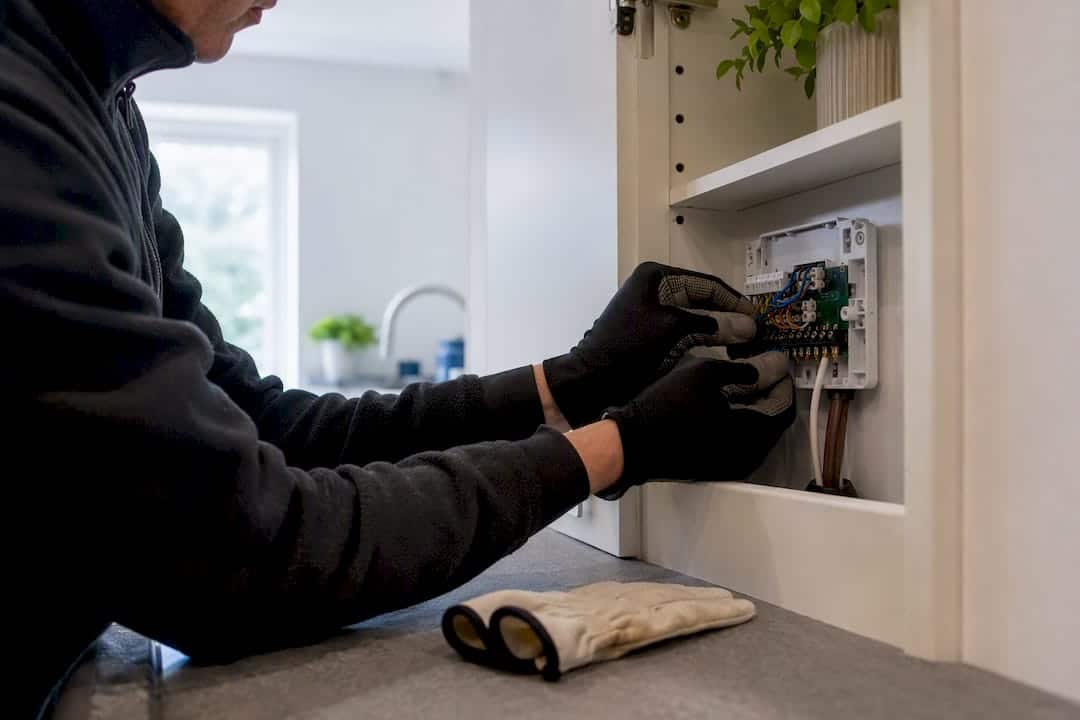
Most UK homeowners can fit a smart thermostat themselves, but only if the job stops short of opening the boiler casing or switching 230V mains wiring. If either applies, a Gas Safe engineer or registered electrician takes over. Before touching anything, run three checks: use the manufacturer’s compatibility checker, confirm whether the boiler casing needs opening, and be honest about your confidence around live wiring.
Then, before you unscrew anything:
- Isolate the power at the fuse box or fused spur
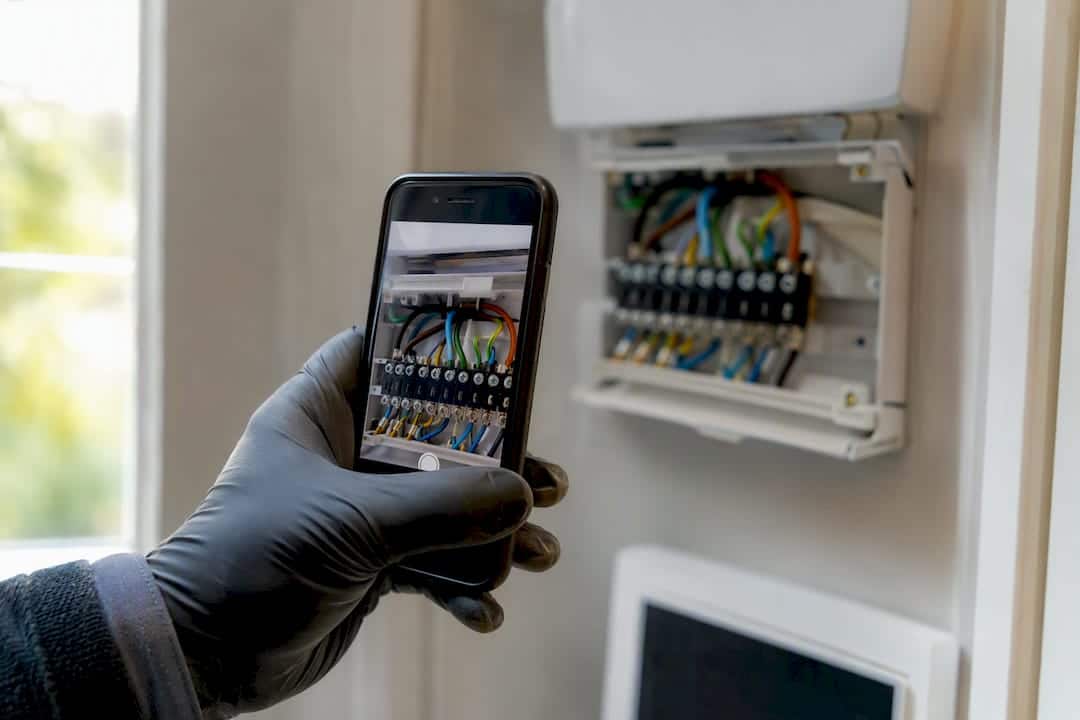
- Photograph the existing wiring and terminal labels
- Confirm the boiler type (combi, system, or conventional) against the compatibility checker
Key Takeaways
A smart thermostat installation is safe to DIY when the wiring is volt-free or receiver-based, but 230V mains switching or boiler casing access always requires a Gas Safe engineer or registered electrician.
| Point | Details |
|---|---|
| Check compatibility first | Use the manufacturer’s checker to confirm volt-free, OpenTherm, or receiver requirements before buying. |
| Isolate and verify power | Turn off the circuit at the fuse box, then confirm with a voltage tester before touching wires. |
| Photograph and label everything | Record wiring, terminals, and serial numbers for warranty and future EPC or HEM evidence. |
| Know the stop conditions | 230V switching, boiler casing access, or unlabelled wiring all mean calling a registered professional. |
| Keep records for assessments | Homeenergymodel’s guidance shows how documented smart controls support energy performance evidence. |
Table of Contents
- How to check compatibility before installing a smart thermostat
- What tools and safety checks do you need first?
- How do you remove the old thermostat safely?
- Wiring the new thermostat or receiver correctly
- Mounting the thermostat and finishing the cable run
- Pairing the app and testing the system
- Troubleshooting common smart thermostat installation problems
- What should HEM and EPC assessors see in your installation records?
- Frequently asked questions about installing a smart thermostat
- Sources
How to check compatibility before installing a smart thermostat
Every credible manufacturer, whether that’s Hive, Nest, or Tado, publishes a compatibility checker on its website. Enter your existing thermostat’s wiring setup and it tells you whether you need a receiver, an OpenTherm‑compatible boiler, or volt‑free contacts. These three terms matter more than any spec sheet: “volt‑free” means the thermostat only switches a low‑voltage signal, which is generally the safer, more DIY‑friendly setup; “mains switched” or “230V” means the thermostat is doing the same job as a light switch on your boiler’s power supply, and getting that wrong can fry the circuit board.
Boiler type changes what’s involved, too. A combi boiler usually has simple two-wire or receiver-based control. A system boiler often has a separate wiring centre. A conventional boiler with a hot water cylinder adds a second zone valve into the mix, which means more wires to label correctly.
The clearest warning sign that this is not a DIY job: if the instructions tell you to remove the boiler’s outer casing to access a terminal block inside, stop there. That’s notifiable work under most manufacturer guidance and typically requires a Gas Safe engineer.
Pro Tip: Screenshot the compatibility checker result before you start. If the installation goes wrong and you need a professional, that result tells them exactly what wiring they’re walking into.
What tools and safety checks do you need first?
You don’t need a large toolkit, but you do need the right ones. Skipping the voltage tester is the single most common shortcut that turns a straightforward job into a call-out.
- A small screwdriver set (flathead and Phillips, insulated handles)
- A voltage tester or multimeter to confirm the circuit is dead
- Coloured labels or masking tape and a pen
- Insulation tape and a torch
- Your phone, for photographing wiring before you disturb anything
Isolate the circuit at the consumer unit or the fused spur feeding the heating controls, then verify with the voltage tester rather than trusting the switch position alone. The IET sets the wiring standards that underpin this kind of check, and following them isn’t optional caution, it’s the baseline for safe domestic electrical work.
Photograph every terminal before disconnecting anything. Those images become useful later for warranty claims and for any EPC or Home Energy Model evidence you might need to produce.
How do you remove the old thermostat safely?
Removing the old unit is mechanically simple. The risk is losing track of which wire went where.
- Take clear, well-lit photos of the wiring and terminal block from at least two angles.
- Label each wire with tape, matching the letter or number printed at the terminal (commonly L, N, and switched terminals like 1, 2, 3).
- Unscrew the old backplate carefully and keep the fixings; new units sometimes reuse the same holes.
- Check behind the plate for a junction box or extra cabling that wasn’t obvious from the front.
If any wire colour doesn’t match what you’d expect (brown for live, blue for neutral, in modern cabling) or the terminal markings are worn away, don’t guess. Photograph it, note it, and check the manufacturer’s wiring diagram before proceeding, or ask an electrician to confirm.
Wiring the new thermostat or receiver correctly
This is where most DIY installs go wrong, and it’s not through carelessness. It’s through misidentifying what kind of circuit you’re actually working with. UK smart thermostat installations often aren’t the plug-and-play job the marketing suggests, because many homes still use 230V live switching rather than the low-voltage, volt-free contacts common in newer systems. Wire a 230V circuit into a thermostat expecting volt-free signals and you risk damaging the boiler’s PCB or voiding the warranty outright.
Two setups you’ll typically encounter:
- Volt-free wiring: the thermostat simply opens or closes a low-voltage signal path. Generally lower risk and more forgiving of DIY work.
- Wireless receiver setup: the thermostat talks wirelessly to a small receiver box, which then does the actual switching at the boiler. This often avoids touching boiler-side wiring directly, since the receiver mounts near an existing wiring centre.
Place the receiver somewhere with reasonable signal reach to the thermostat and away from metal cabinets that block wireless signals. Diagnosing which system you have isn’t a formality. Diagnostic misidentification, confusing volt-free for mains-switched wiring, is one of the most common causes of call-outs and boiler damage, and it’s the step professionals never skip.
Stop and call a Gas Safe engineer or registered electrician if any of the following apply: the wiring is 230V mains switched, the job requires opening the boiler casing, or the existing wiring is unlabelled and you can’t confirm what each terminal does from the manufacturer’s diagram.
Pro Tip: If you’re unsure whether you’re looking at volt-free or mains-switched terminals, check for a separate fused spur or isolator switch near the boiler. Mains-switched systems almost always have one.
Once wiring is complete, test in stages rather than all at once. Check continuity where it’s safe to do so with the multimeter, restore isolation gradually, and watch for the burner firing when you call for heat, then confirm it returns cleanly to standby.
Mounting the thermostat and finishing the cable run
A neat installation isn’t just cosmetic. Loose cable entries and stressed terminals cause faults months later.
- Mark fixing points with a spirit level, then drill and use wall plugs suited to the wall type (plasterboard anchors for stud walls, standard plugs for masonry).
- Use a grommet or sealant where cable passes through a wall or backplate to keep the run tidy and protected.
- Avoid sharp bends near the terminals; a stressed wire can work loose over time and cause intermittent faults.
- Photograph the finished installation and note the model and serial number, both go towards your warranty registration and any future EPC or Home Energy Model evidence.
Pairing the app and testing the system
With the hardware fitted, the smart part of the job starts.
- Download the manufacturer’s app and create an account before powering the thermostat on, most walk you through Wi-Fi pairing step by step.
- Connect the thermostat (and hub or bridge, if the system needs one) to your home Wi-Fi; weak signal near the boiler is the most common pairing failure.
- Force a call for heat through the app and confirm the boiler responds, then let it settle back to standby.
- If the system controls hot water too, test that circuit separately before setting up a weekly schedule.
Note the pairing date, firmware version, and serial number somewhere you’ll find again. It matters for warranty claims and it’s exactly the detail an EPC assessment may ask about later.
Pro Tip: Run the test call for heat with the boiler cover already back on. If it fires correctly with everything reassembled, you’ve confirmed the whole job, not just the wiring.
Troubleshooting common smart thermostat installation problems
Most post-install faults trace back to one of three things: power, wiring, or Wi-Fi.
- No power to the receiver or thermostat: recheck the isolation was restored correctly and the fuse or spur wasn’t left off.
- Thermostat unresponsive after pairing: move it closer to the router temporarily to rule out a Wi-Fi issue before assuming a wiring fault.
- Boiler shows a lockout code: check the manufacturer’s error code list first; a mismatched wiring terminal often produces a specific, named fault rather than total failure.
- Intermittent heating calls: re-isolate the power before opening anything up again, then recheck your labelled photos against the current wiring.
If any fix requires opening the boiler casing, if lockouts persist after basic checks, or if you genuinely can’t confirm the wiring is what you think it is, that’s the point to call a Gas Safe engineer or a NICEIC-registered electrician rather than keep guessing.
What should HEM and EPC assessors see in your installation records?
Assessors value specific, verifiable details over a general description of “a smart thermostat fitted.” Keep a note of:
- The model and serial number
- Whether wiring was volt-free, mains-switched, or receiver-based
- The commissioning date and confirmation the system was fully networked at the time of testing
A correctly installed smart control supports better-informed energy assessments, but it doesn’t replace fabric improvements like insulation or glazing in a Home Energy Model calculation.
A practical view on DIY smart thermostat installs
Most guides either scare homeowners off entirely or wave away the risk to sell a product. Neither is honest. The wiring diagnosis, not the screwdriver work, is where jobs go wrong, and that’s exactly the step a confident DIYer is most likely to rush.
How Homeenergymodel supports your next step
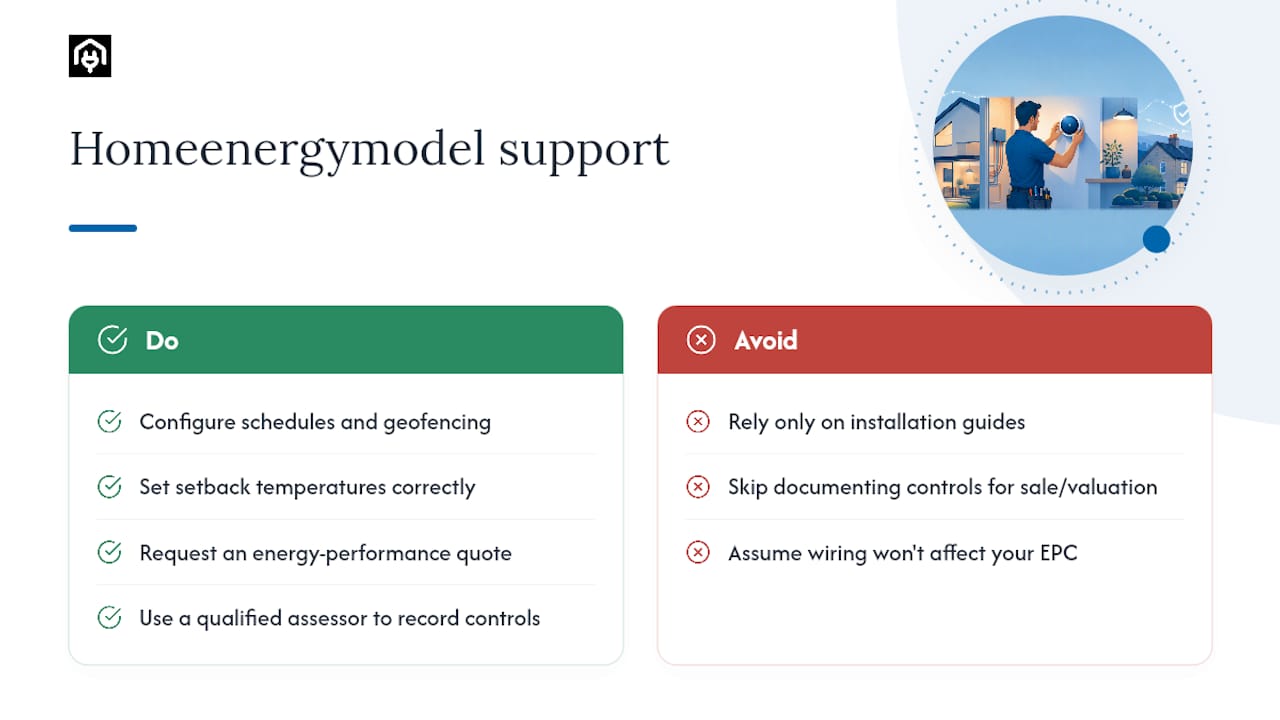
Whether you’ve just fitted a smart thermostat or you’re weighing up whether to hire someone, the wiring and boiler type decisions you make now feed directly into your property’s energy performance record. Homeenergymodel’s guide to smart home energy efficiency explains how to configure schedules, geofencing, and setback temperatures once the hardware is working, the part most installation guides skip entirely. If you need documented evidence of your heating controls for a sale, a mortgage valuation, or landlord compliance, request a quote through our energy performance assessment service and get a qualified assessor to record it properly the first time.
Frequently asked questions about installing a smart thermostat
Can I install a smart thermostat myself in the UK?
Yes, in many cases, provided the wiring is volt-free or receiver-based and the boiler casing doesn’t need opening. If either applies, the job needs a Gas Safe engineer.
Do I need an electrician for a smart thermostat?
Only if the wiring involves 230V mains switching or the work counts as notifiable electrical work under competent person scheme rules. Volt-free, low-voltage jobs are typically fine for a confident DIYer.
What’s the difference between volt-free and mains-switched thermostat wiring?
Volt-free wiring only carries a low-voltage signal, while mains-switched wiring carries a full 230V circuit, similar to a light switch. Confusing the two can damage the boiler’s circuit board.
Do smart thermostats need a C‑wire in the UK?
Not usually. Most UK systems either use a wireless receiver or existing switched-live wiring, so the C-wire requirement common in North American systems rarely applies here.
What should I do if the boiler locks out after installation?
Re-isolate the power, recheck your labelled wiring photos against the terminal block, and consult the manufacturer’s error code list. If the lockout persists, call a Gas Safe engineer.
Sources
For deeper technical grounding, consult the IET’s wiring standards and NICEIC’s competent person scheme guidance for certification and notifiable work rules.
- DIY Thermostat Upgrade Guide UK | Axiom Eco Homes
- Competent Person Scheme registration guidance | NICEIC (CPS registration guide)