
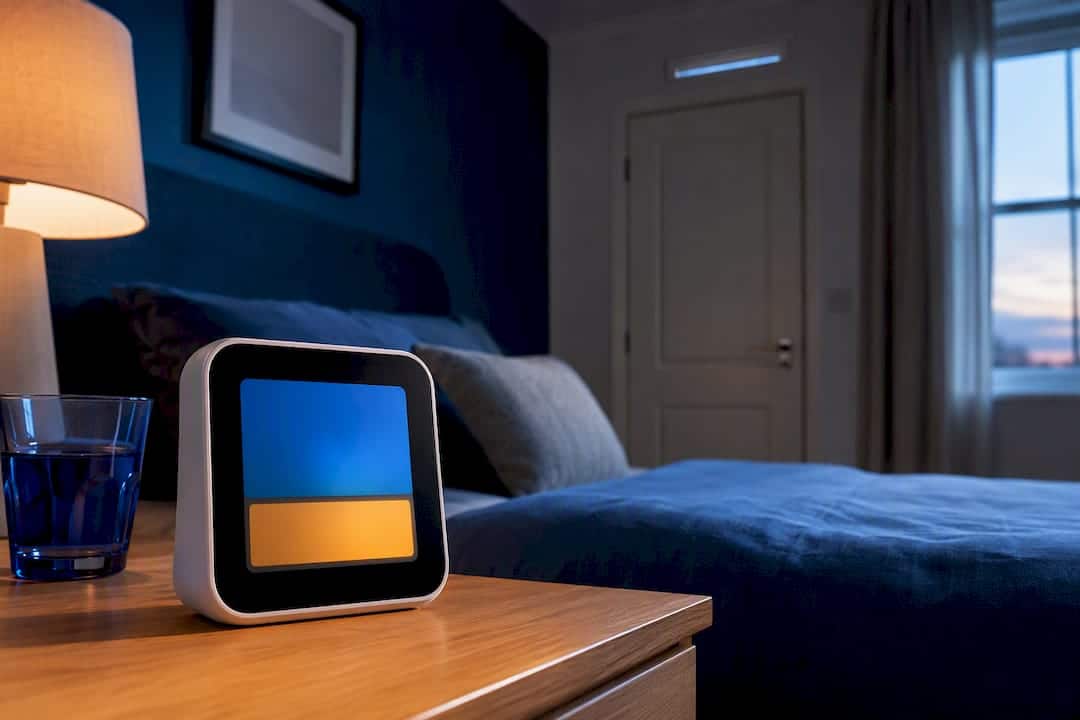
Measuring indoor air quality at home means using a monitor that tracks CO2, PM2.5 and humidity, then logging readings across different rooms and activities over several days. Ventilation is the first fix for most problems that turn up. A handful of pollutants, including radon and formaldehyde, need specialist testing rather than a plug-in sensor.
TL;DR:
- A CO2 level below 1,500 ppm indicates adequate ventilation, while higher levels suggest the need for improved airflow management in homes.
- PM2.5 spikes during activities like cooking should fall back to baseline within 20 to 30 minutes, signaling effective extraction or ventilation.
- Consumer monitors reliably track PM2.5 and CO2 but are insufficient for identifying radon, formaldehyde, or nitrogen dioxide without specialist testing.
- Dedicated sensors, such as NDIR for CO2 and optical lasers for PM, provide significantly more accurate readings than multi-sensor all-in-one devices.
- Persistent high readings or alarms, especially near combustion appliances or in vulnerable individuals, warrant professional inspection rather than sole reliance on consumer-grade monitors.
Table of Contents
- What to measure: pollutants and indicators that matter in homes
- Choosing the right monitor: types, features and a buyer checklist
- How to test air quality at home step by step
- Understanding your results: healthy ranges and what they mean
- Fixing what you find: immediate and medium-term actions
- Limitations of consumer monitors and when to call a professional
- Ventilation, energy upgrades and the Home Energy Model perspective
- Why routine monitoring matters
- How Homeenergymodel can help you act on your results
- Sources
What to measure: pollutants and indicators that matter in homes
Not every pollutant needs the same tool, and homeowners waste money buying kit that measures the wrong thing. Fine particles, known as PM2.5 and PM10, come mainly from cooking, candles, and wood or solid fuel burning, and they penetrate deep into the lungs. Carbon dioxide (CO2) doesn’t harm you directly at typical indoor levels, but it works as a reliable proxy for ventilation. When a bedroom fills with sleeping occupants and the door stays shut, CO2 climbs steadily overnight and tells you the room isn’t getting enough fresh air.
Total volatile organic compounds (TVOCs) are trickier. Most affordable sensors report an aggregate TVOC figure rather than identifying individual chemicals, so a spike after painting or new furniture tells you something is off gassing, not exactly what. Carbon monoxide (CO) sits in a different category altogether: it’s acutely dangerous, produced by faulty combustion appliances, and needs a dedicated, always-on alarm rather than a general-purpose monitor. Humidity and temperature matter for a slower reason. Relative humidity above recommended levels for sustained periods creates the conditions mould needs to establish itself, particularly in poorly ventilated bathrooms and cold external walls.
Radon and nitrogen dioxide (NO2) round out the list, and both are often geographically or source-specific enough that a household monitor won’t catch them reliably.
- PM2.5/PM10: cooking, wood burning, candles; linked to respiratory irritation
- CO2: ventilation proxy, rises with occupancy and closed doors
- TVOCs: aggregate indicator of chemical off-gassing, not compound-specific
- CO: acute hazard from faulty combustion, needs its own alarm
- Humidity/temperature: drives mould risk above sustained high levels
- Radon/NO2: locally significant, usually needs specialist measurement
Choosing the right monitor: types, features and a buyer checklist
A single-parameter detector, like a CO alarm or a standalone CO2 meter, does one job well and cheaply. A multi-sensor indoor air quality (IAQ) monitor covers more ground at once, tracking PM2.5, CO2, TVOCs and humidity from a single unit, which suits anyone wanting a fuller picture without buying four separate gadgets. The trade-off is usually accuracy per parameter: a dedicated CO2 meter with an NDIR (non-dispersive infrared) sensor tends to outperform the CO2 reading bundled into a cheap all-in-one device.
When comparing specifications, a few features are worth prioritising over marketing claims. NDIR sensors give the most dependable CO2 readings; optical particle sensors (often called PMS sensors) using laser scattering are the practical standard for PM2.5 in consumer devices, according to performance testing from Lawrence Berkeley National Laboratory. Metal-oxide VOC sensors give a useful trend but can’t distinguish one chemical from another.
- NDIR sensor for CO2 accuracy over cheaper alternatives
- Optical (laser) PM sensor for PM2.5/PM10 readings
- Data logging so you can review trends, not just a live number
- App or cloud support if you want remote alerts or historical graphs
- Configurable alarm thresholds for CO2 and PM2.5 spikes
- Calibration options, since sensors drift over months of use
A basic CO2 meter or a plug-in humidity gauge is enough if you’re chasing one specific symptom, like a stuffy bedroom or condensation on windows. A multi-sensor monitor earns its higher price when you want ongoing visibility across several rooms or you’re assessing a property after energy-efficiency upgrades.
Pro Tip: Buy a device that lets you export raw data (CSV or app history) rather than just a colour-coded traffic light display. Traffic lights hide the actual numbers you’ll want to compare against benchmarks later.
How to test air quality at home step by step
Testing properly takes a little more than switching a monitor on and reading the number once. Representative results depend on where you place the device, what’s happening in the house, and how long you leave it running.
- Choose two or three rooms to prioritise. Start with the main bedroom, the kitchen, and any room with a history of damp or stuffiness.
- Position the monitor away from obvious interference. Keep it clear of windows, extractor fans, cookers and radiators, and place it at roughly breathing height, around one to 1.5 metres off the floor.
- Take a baseline reading with the house empty or quiet. This gives you a background figure to compare later spikes against.
- Run activity-based spot checks. Cook a meal and watch PM2.5 rise and fall; take a hot shower and watch humidity climb; note how long each takes to return to baseline.
- Log the bedroom overnight. A CO2 reading first thing in the morning, with the door and windows shut overnight, is one of the most useful single data points a homeowner can collect.
- Check near combustion appliances as a safety measure. Any CO reading above zero near a boiler, gas fire or wood burner warrants immediate investigation.
- Leave the monitor running for longer trend data. Five to 15 minutes is enough for a spot check; 24 to 72 hours captures how PM2.5 and TVOCs behave across a normal day, including cooking, cleaning and heating cycles.
- Log everything in a simple spreadsheet. Columns for time, room, activity and reading turn scattered numbers into a pattern you can actually interpret. Most monitor apps will export this automatically if you prefer not to type it manually.
- Repeat after any change. New flooring, a redecorated room, or a ventilation upgrade all justify running the same test again to see what moved.
Understanding your results: healthy ranges and what they mean
Numbers only help if you know what they’re being measured against. The Centre for Sustainable Energy sets out practical benchmarks homeowners can use directly: a comfortable indoor temperature of 18 to 21°C, relative humidity of 40 to 60%, and CO2 kept below 1,500 ppm in domestic settings (a tighter 800 ppm is used as a benchmark in non-domestic buildings).
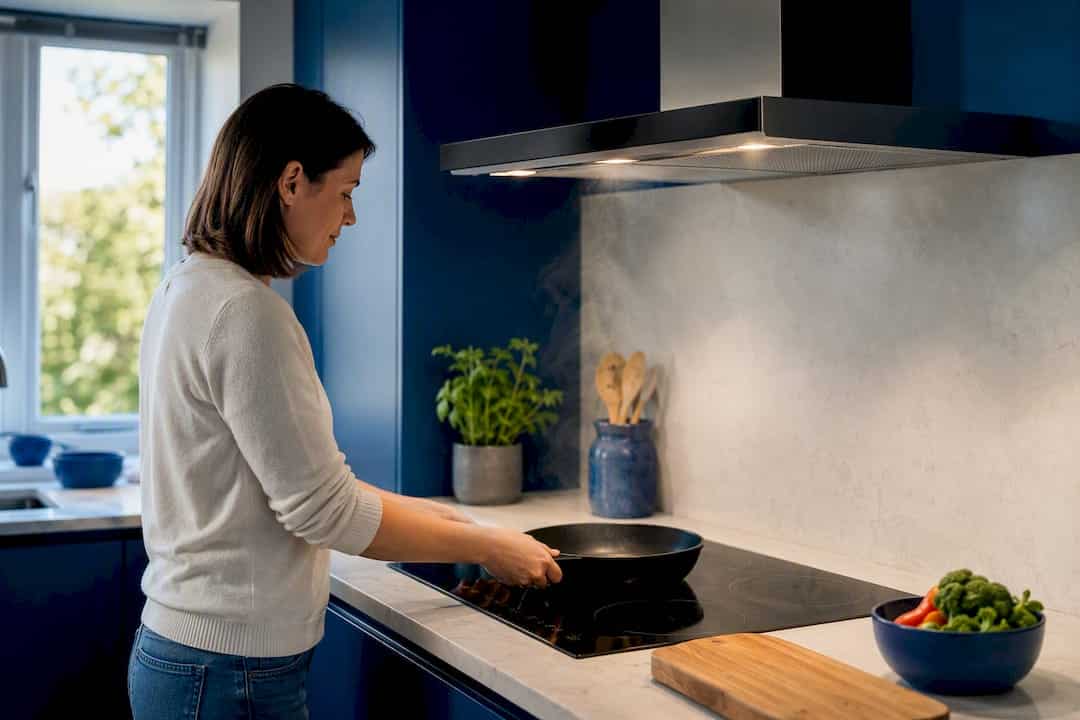
Elevated CO2 readings most evenings in a bedroom point to insufficient ventilation, not a one-off event. A brief PM2.5 spike while you’re frying food is normal and expected. The concern is a level that stays elevated long after cooking has finished, which suggests extraction isn’t clearing the air fast enough, or a filter needs replacing.
- CO2 below 1,500 ppm for general domestic comfort
- Relative humidity 40 to 60% to limit mould risk
- PM2.5 spikes that return to baseline within 20 to 30 minutes are typical during cooking
- CO should read zero under normal conditions; anything above that near an appliance is urgent
A short spike tells you something happened. A sustained elevation tells you something is structurally wrong, whether that’s a blocked extract fan, a draught-proofed room with nowhere for stale air to escape, or a redecorated space still off-gassing weeks after painting. Monitoring over time matters more than a single reading, because pollutant levels shift constantly with occupancy and activity, and a single spot check can easily mislead you either way.
Fixing what you find: immediate and medium-term actions
Ventilation is almost always the first lever to pull, and it costs nothing beyond opening a window. Trickle vents, extractor fans and cross-ventilation between rooms dilute pollutants faster than almost any other single change, according to Energy Saving Trust guidance on home ventilation. Cooking without the extractor fan running is one of the most common, and easiest to fix, causes of a PM2.5 spike that lingers.
Immediate steps cost little and take minutes:
- Open windows and trickle vents during and after cooking or showering
- Run extract fans in kitchens and bathrooms, and leave them on a few minutes after finishing
- Avoid indoor smoking and unflued or unvented solid fuel appliances
- Use a lidded pan and the back burner where possible to cut particle output
Medium-term improvements take more planning but address recurring problems rather than symptoms:
- Service or replace extract fans that sound weak or clogged
- Consider mechanical ventilation with heat recovery (MVHR) in well-insulated, airtight homes
- Fit a HEPA air purifier in a room with persistent particulate issues
- Choose low-VOC paints, adhesives and furnishings when redecorating
Humidity problems usually trace back to leaks, poor extraction, or cold surfaces where condensation forms, making understanding the Healthy Home Standard critical for effective solutions. A dehumidifier helps in the short term, but fixing the leak or improving extraction solves the actual cause. Mould that covers more than about a square metre, or keeps returning after cleaning, is worth handing to a professional rather than tackling repeatedly with bleach.
Pro Tip: If PM2.5 spikes every time you cook but drops fast once the extractor runs, that’s a sign the system works but you’re simply not using it enough. Build it into the routine rather than buying new equipment.
Limitations of consumer monitors and when to call a professional
Consumer sensors drift over months of use, and a TVOC reading is an aggregate, not a chemical breakdown. Formaldehyde, NO2, radon and specific VOCs generally sit beyond what a plug-in monitor can reliably confirm, a limitation the EPA explicitly flags for low-cost air pollution monitors.
Certain signs mean it’s time to stop relying on a household device:
- A CO alarm has triggered, even once
- High readings persist despite ventilation changes with no obvious explanation
- You suspect radon, particularly in known higher-risk areas
- A vulnerable occupant, such as someone with asthma or a young child, shows symptoms that track with poor readings
Professional testing typically means longer-term radon detectors left in place for weeks, laboratory VOC panels that identify specific compounds, and calibrated instrumentation well beyond consumer-grade accuracy. NICE guidance recommends pairing monitoring with a physical inspection checklist, particularly where vulnerable occupants are involved, rather than relying on numbers alone.
Ventilation, energy upgrades and the Home Energy Model perspective
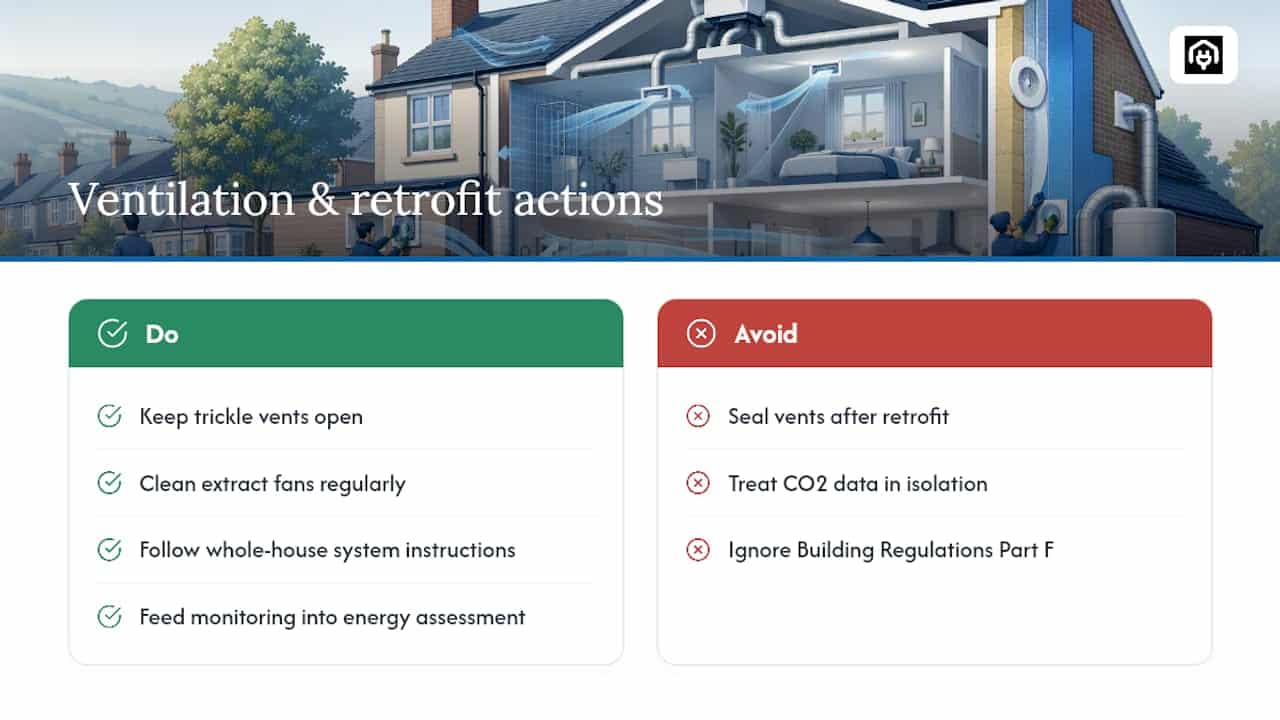
Airtightness and ventilation are two sides of the same coin. Insulating and draught-proofing a home cuts heat loss, but it can also seal away the gaps that used to let stale air escape, which is exactly why monitoring often reveals a ventilation shortfall shortly after an energy upgrade. Gov is clear that trickle vents should stay open, extract fans need regular cleaning, and whole-house systems must follow manufacturer instructions, particularly relevant under Building Regulations Part F, which sets ventilation standards for dwellings.
If monitoring turns up persistent CO2 or humidity problems after retrofit work, that data is worth feeding into a proper home energy assessment rather than treated in isolation, since ventilation and energy performance need assessing together, not separately.
Why routine monitoring matters
Routine monitoring costs little and catches problems—damp, poor ventilation, combustion risks—long before they damage health or fabric. If a reading points to something beyond a household fix, Homeenergymodel’s guidance on home ventilation solutions is a sensible next stop.
— Danny
How Homeenergymodel can help you act on your results
Reading a monitor is one thing; knowing whether your home’s ventilation and insulation are working together properly is another. Homeenergymodel connects homeowners with EPC assessors and Home Energy Model specialists who look at airtightness, extraction and ventilation as a complete system rather than isolated numbers on a screen. If your CO2 or humidity readings keep pointing to a problem no amount of window-opening fixes, a professional energy performance assessment will identify whether the issue sits with your ventilation setup, your insulation, or both. Request a quote through the site to get a qualified assessor looking at the specifics of your property.
Sources
- Testing the air quality, temperature and humidity of your home — Centre for Sustainable Energy
- How to improve your home’s ventilation — Energy Saving Trust
- Gov
- Indoor
- Low–Cost Air Pollution Monitors and Indoor Air Quality — EPA